Restoring ASIAIR OS
updated: 2023-02-18
Remark: this chapter only applies to ASIAR-Pro and ASIAIR devices, but no longer to the ASIAIR-Plus which uses an internal 32GB memory with recovery options.
Abnormal operation can corrupt the ASIAIR OS system on the SD. It is highly recommend to backup the card before first use. We have created an easy to follow restore process. For details, please refer to the official website "How to restore the ASIAIR system"
Part 1 Preparation
- You need a new MicroSD card and a Card Reader.
- Download, install the latest version of Win32 Disk Imager download | SourceForge.net
- Goto the appropriate download area, make sure the remaining disk space is greater than 32GB
- ASIAIR: Download the firmware ASIAIR_V1.02.zip from Google Drive (879MB)
- ASIAIR PRO: Download the firmware ASIAIR_V1.4.zip from Google Drive (6.4GB)
- Unzip the firmware file on a drive with sufficient capacity (32GB are required!)
Part 2 License File Backup
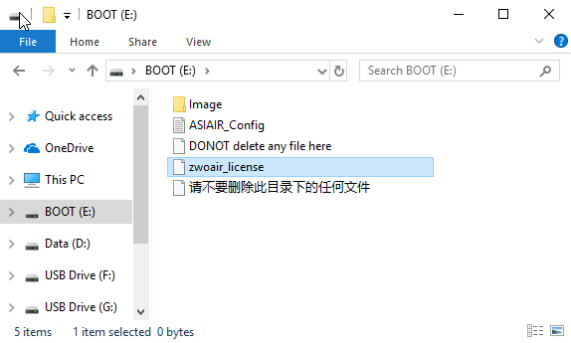
- This pictures only demonstrates the contents of the final Boot folder on the ASIAIR SD-Card.

Part 3 Restore the ASIAIR System
- Insert the new SD card (32GB) into the card reader, then plug the card reader into the computer USB interface.
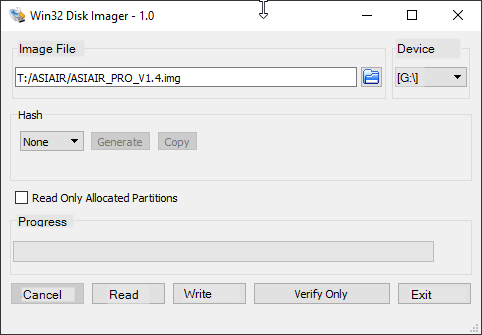
- Run the Win32 Disk Imager, click the folder icon (
 ) on its interface to select the image file that just unzipped in Step 2.
 - Under the Device label of the Win32 Disk Imager software interface, select the SD card drive letter
- Click the Write button ( ) to start. It would take 30 to 40 minutes typically

- After restoring, plug back the MircoSD card in ASIAIR device and power up, connect to its WiFi on the app
Authorization
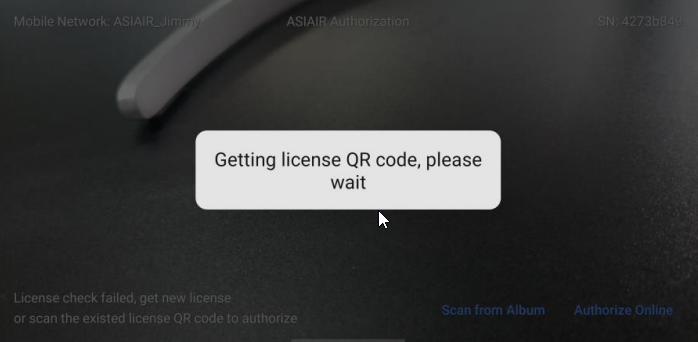
Option 1: Authorize Online (Internet access is required): Tap Authorize Online and AISIAIR will automatically complete the authorization.
During this process you'll have to reconnect your mobile device back to the internet, wait for the authorization code and finally reconnect to the ASI AIR WiFi network to transfer the authorization code back onto the microSD Card in the ASIAIR device.
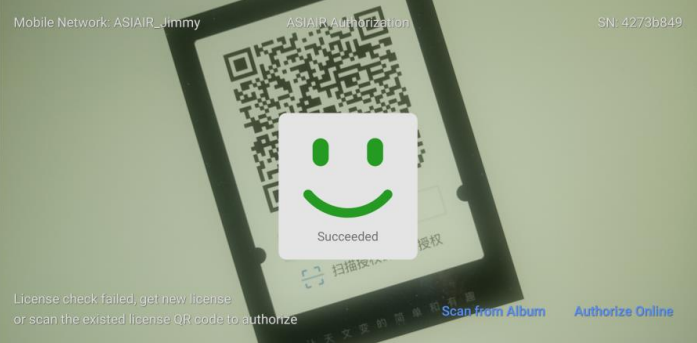
Option 2: Scan License QR Code (No Internet access is required): Tap Scan from Album or obtained online, then scan to authorize

During the process a License-QR-code will be generated which should be saved to your photo album (recommended for later repairs).

Created with the Personal Edition of HelpNDoc: Import and export Markdown documents
