
|
|
updated: 2021-09-10 |
|
Purpose |
Manually increase the Color Saturation. Implements pixel intensity transformations by interpolation of functions defined through arbitrary user-definable points. |
|
Activation |
Menu: Process 🡺 All Processes 🡺 Curves Transformation Process Explorer: IntensityTransformations 🡺 Curves Transformation |
|
Input |
Stretched image, file name “*_i_c_DBE_ABE_BN_CC_HT_MLT_FS_CT1.xisf” or similar into sub folder "aligned" |
|
Output |
Stretched image, file name “*_i_c_DBE_ABE_BN_CC_HT_MLT_FS_CT_CT2.xisf” or similar into sub folder "aligned" |
|
Previous Step |
|
|
Next Step |
|
|
Tutorial |
https://www.youtube.com/watch?v=qg1QUVaCLqI (Part 11 Adding Saturation to your Final Image, starts at around 6m50s ) |
Step |
Description |
Action |
||||
1 |
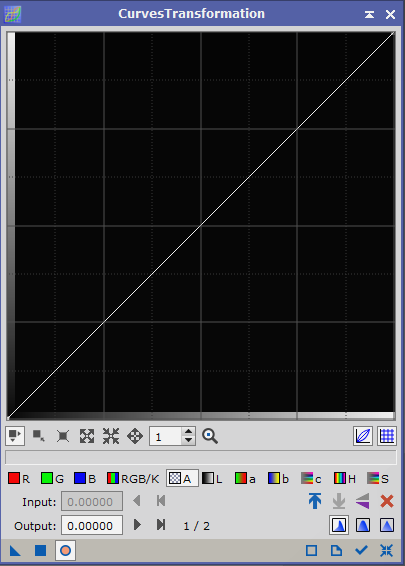
Open up Curves Transformationand make sure to reset the function |
|
||||
2 |
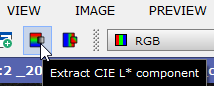
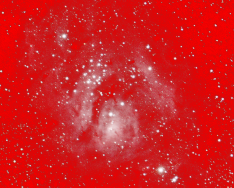
Create a Luminance Maskthis will create a B/W luminance image. Pull the tab of the B/W luminance image to the left side of the color image to apply the mask. Make the mask visible by pushing CTRL+K and hide it again. |
|
||||
3 |
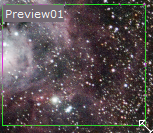
Create a new PreviewALT+N of an area containing the main object. |
|
||||
4 |
Open a Real-Time Preview |
|
||||
5 |
Enable Saturation Mode |
|
||||
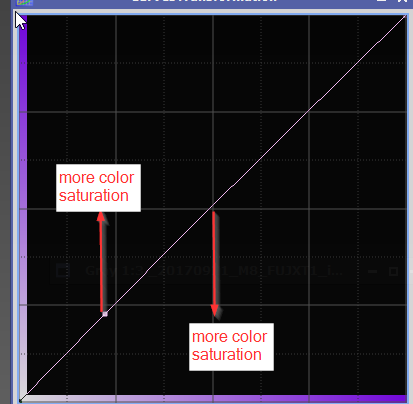
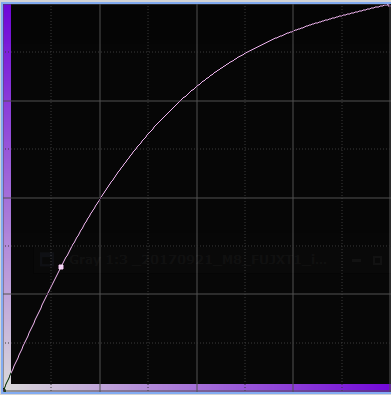
5 |
Enable Track Viewyou will get a purple line that you can pick at one or more points and change you color saturation as you like. |
|
||||
6 |
Click on an Important Section on the Real-Time Preview
|
|
||||
6 |
Close the Real-Time Preview |
|
||||
7 |
Apply the Settings on the Entire Imageby dragging the little blue triangle an on your image. |
|
||||
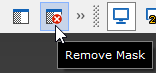
8 |
Remove the MaskMenu 🡺 Mask 🡺 Remove Mask unless you want to keep it for the next step! |
|
||||
13 |
Close Curves Transformationunless you want to continue with the next step! |
|
||||
14 |
Save the Imageor "20170921_M8_FUJXT1_i_c_DBE_ABE_BN_CC_ HT_MLT_FS_SCNR_SM_HDR_MLT_CT2.xisf" in this case |
using postfix _CT2 file name like “*_CT2.xisf” |


Created with the Personal Edition of HelpNDoc: Easily create EPub books