
|
PixInsight |
Creating a Mask |
updated: 2024-03-17 |
|
Purpose |
Masking foreground and background objects |
|
Activation |
Menu: Image 🡺 Extract 🡺 Lightness (CIE L*) or |
|
Tutorial |
https://www.youtube.com/watch?v=JtA4UoaAAas (Part 6 DBE - starts around timestamp 2m56s) |

Step |
Description |
Action |
1 |
Open the last Image |
File like “*_i_c_DBE_BN_CC_HT.xisf” |
2 |
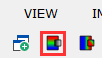
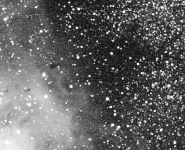
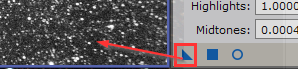
Click on the Lightness (CIE L*) IconThe luminance will be extracted from the image and a B/W image be created. |
|
3 |
Unstretch the b/w Lightness imageor reset the STF (applies only to not fully stretched images!) |
|
4 |
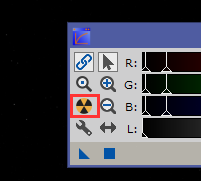
Open the ScreenTransferFunction (STF) |
|
5 |
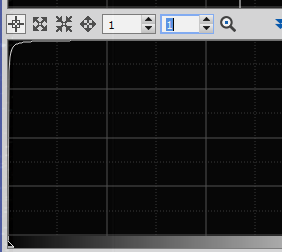
Open HistogramTransformationand select the b/w lightness image as target image (has an "_L" trailer) |
|
6 |
Do a Autostretch in STFon the unstretched lightness image |
|
7 |
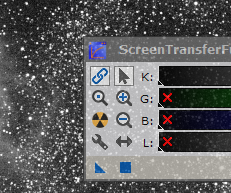
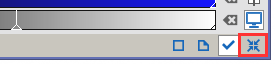
Send STF Values to the HistogramTransformationdrag the little blue triangle of the STF to the bottom of the HistogramTransformation The HistogramTransformation will now show the histogram of the b/w image. |
SFT HistogramTransformation
|
8 |
Send HistogramTransformation Parameters to the B/W ImageDrag the little blue triangle from the HistogramTransfprmation onto the B/W image, this will turn completely white. |
|
9 |
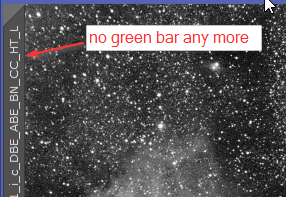
Reset the STFto show the stretched image again - notice that the green bar at the left handle is gone meaning that this image is now stretched. |
|
10 |
Close the HistogramTransformationno longer needed |
|
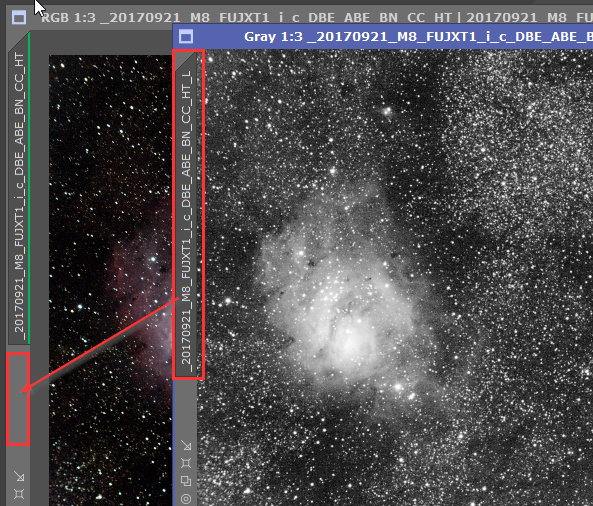
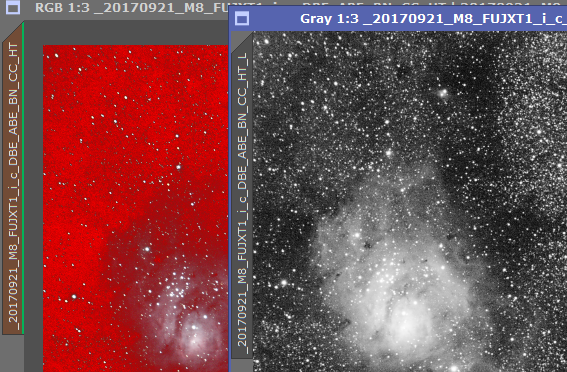
11 |
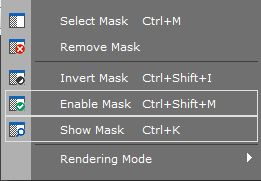
Apply the Mask to the Original ImagePull the tab of the B/W stretched image right below the tab of the original image to apply the mask The red image is the MASK which will be used further. Notice the tab on the left side of the windows turned to brown indicating a mask. Everything in red is protected (here this is the background). By inverting the mask you can also protect the foreground which is good if you want to reduce noise on the background. You can use the following function from the menu to alter the mask: |
|
12 |
Hide the MaskMake sure the foreground is protected before you hide the mask. After hiding the mask, the mask is still there (as you can see from the brown tab at the left side of the image) |
|
13 |
Continue with any next step |
|


Created with the Personal Edition of HelpNDoc: Protect Your Confidential PDFs with These Simple Security Measures