
|
|
updated: 2021-05-31 |
|
Purpose |
Manually increase the contrast. Implements pixel intensity transformations by interpolation of functions defined through arbitrary user-definable points. |
|
Activation |
Menu: Process 🡺 All Processes 🡺 Curves Transformation Process Explorer: IntensityTransformations 🡺 Curves Transformation |
|
Input |
Stretched image, file name “*_i_c_DBE_ABE_BN_CC_HT_MLT_FS.xisf” or similar into sub folder "aligned" |
|
Output |
Stretched image, file name “*_i_c_DBE_ABE_BN_CC_HT_MLT_FS_CT.xisf” or similar into sub folder "aligned" |
|
Previous Step |
|
|
Next Step |
|
|
Tutorial |
https://youtu.be/FxM5WGrvhoI?t=937 (Part 9 HDR starts around timestamp = 15 m and 35s) |
Step |
Description |
Action |
||
1 |
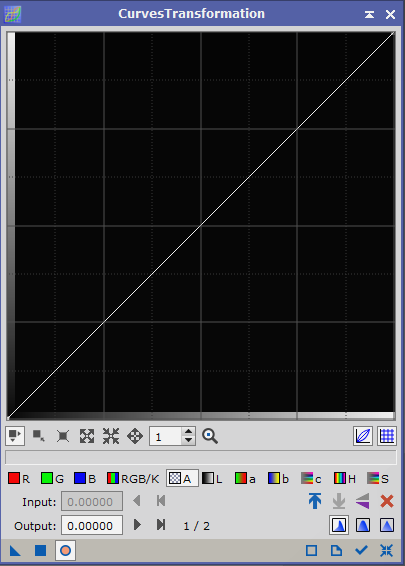
Open Curves Transformation |
|
||
2 |
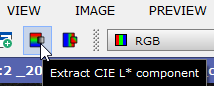
Create a Luminance Maskthis will create a B/W luminance image. Then hide the mask (CTRL+K) |
|
||
3 |
Open a Real-Time Preview Window |
|
||
4 |
Enable Track Viewthis will show the histograms of the different colors |
|
||
5 |
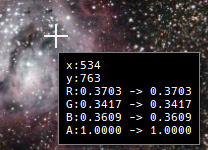
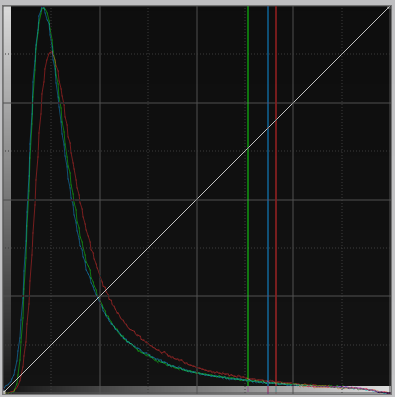
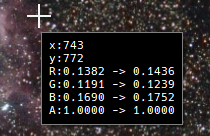
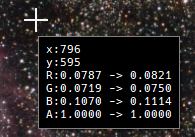
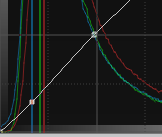
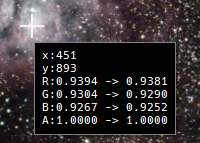
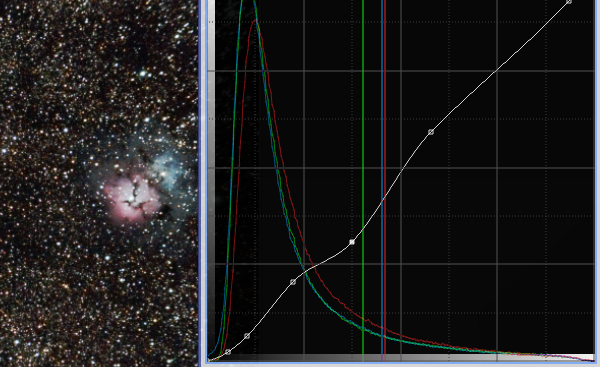
Click on an Important Section on the Real-Time Preview(selecting a typical area on the image) and the Curves Transformation will show the discrete color values of this point in the histogram windows as vertical lines. Then click on the white line where the vertical color lines meet the diagonal white line. |
|
||
6 |
Repeat this Step on a Darker Section of the ImageAgain click on the white line where the vertical color lines meet the diagonal white line. |
|
||
7 |
Repeat this Step on a Background Sectionto protect the background in the image |
|
||
8 |
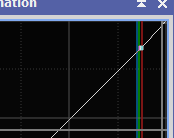
Repeat this Step on a Bright Section of the Objectto protect the bright sections of the image Now there are 4 points on the diagonal white histogram line. |
|
||
9 |
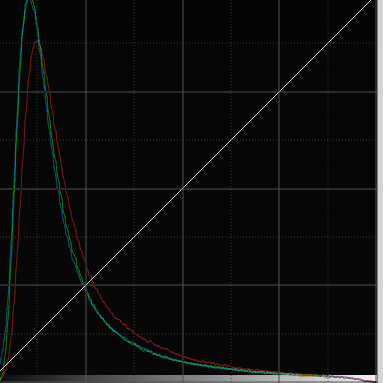
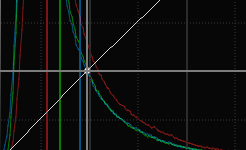
Try moving the 2 Midpoints to Different Positionsand watch the result - do not exaggerate as this can destroy the entire picture. The example at the right is a fairly good result. You can set additional points on the line and check the results. |
|
||
10 |
Close the Real-Time Preview |
|
||
11 |
Apply the Settings on the Entire Imageby dragging the little blue triangle an on your image. |
|
||
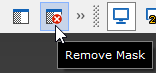
12 |
Remove the MaskMenu 🡺 Mask 🡺 Remove Mask unless you want to keep it for the next step! |
|
||
13 |
Close Curves Transformationunless you want to continue with the next step! |
|
||
14 |
Save the Imageor "20170921_M8_FUJXT1_i_c_DBE_ABE_BN_CC_ HT_MLT_FS_SCNR_SM_HDR_MLT_CT.xisf" in this case |
using postfix _CT file name like “*_CT.xisf” |


Created with the Personal Edition of HelpNDoc: Eliminate the Struggles of Documentation with a Help Authoring Tool