
|
PixInsight - Improving the Non-Linear Image |
Star Mask
|
updated: 2021-05-30 |

|
Purpose |
The MorphologicalTransform (MT) process is an advanced implementation of several morphological transforms. It does so by applying a function using a structuring element (a mask). |
|
Activation |
Menu: Process 🡺 All Processes 🡺 StarMask Process Explorer: MaskGeneration 🡺 StarMask |
|
Input |
Stretched image, file name “*_i_c_DBE_ABE_BN_CC_HT_MLT_FS.xisf” or similar into sub folder "aligned" |
|
Output |
Stretched image, file name “*_i_c_DBE_ABE_BN_CC_HT_MLT_FS_SM.xisf” or similar into sub folder "aligned" |
|
Previous Step |
|
|
Next Step |
|
|
Tutorial |
https://www.youtube.com/watch?v=MhaW1mcybzk (Part 10 Star Mask Shrink, time=10m33s) Reference: PixInsight v1.5 - Unofficial Reference Guide: MaskGeneration (deepskycolors.com) |
Step |
Description |
Action |
1 |
Open StarMask |
|
2 |
Start with the fully stretched imagefrom any step after Full Stretch |
|
3 |
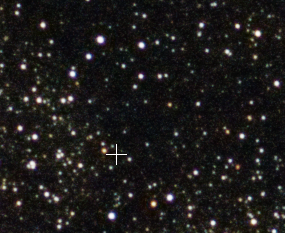
Create a Preview Box + Open the Previewin an area with some stars. This step is required to reduce the processing amount that would be required for the entire picture |
|
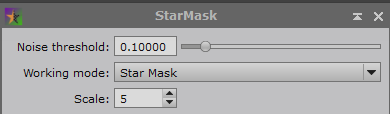
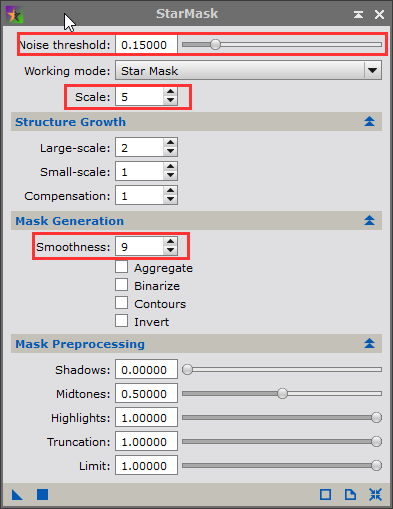
4 |
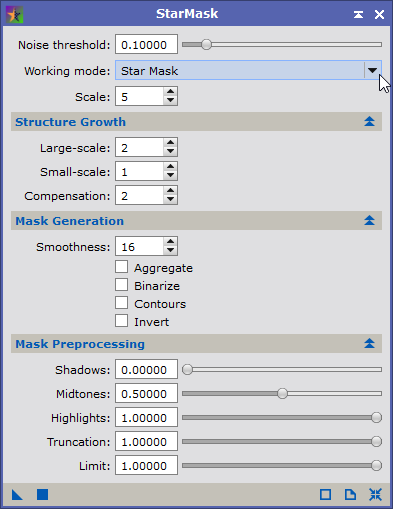
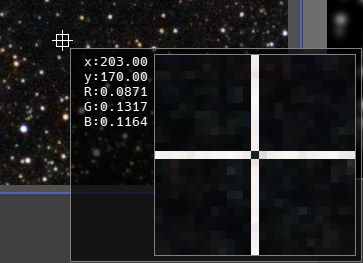
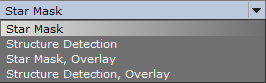
Main SettingsNoise Threshold: decrease for more structure, increase to prevent inclusion of noise. If you set it too high, real stars are going to get missing in the star mask, too low and it will create star masks for non-existent stars (noise). The noise threshold level must be set above the highest RGB levels that you can see at the bottom of the PI window when you hover over the preview window with you mouse or by clicking and holding the left mouse button while hovering: Working Mode: Scale: N. of wavelet layers for structure detection. Increase to include larger structure in the generated star mask |
|
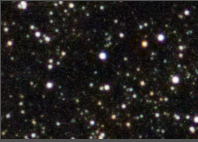
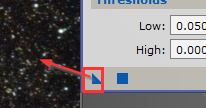
5 |
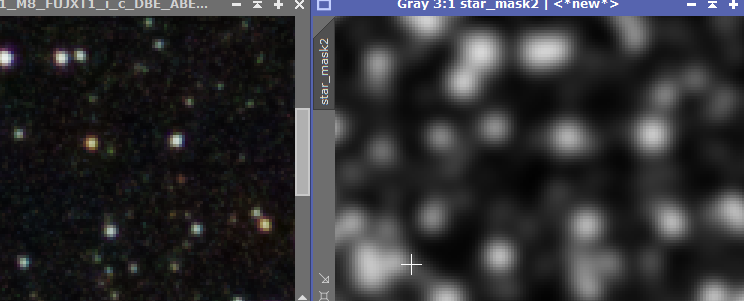
Test Resultby dragging the little triangle to the preview lead to these results: Original Preview Generated Star Mask The result looked best with the settings on the right. Try different settings until the result looks good. |
|
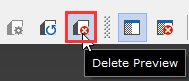
6 |
Close the Preview |
|
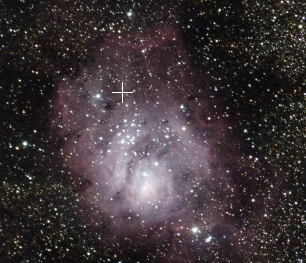
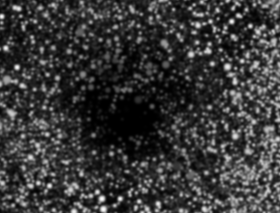
7 |
Generate the StarMaskDrag the little blue triangle to the main image to see if it also impacts the nebula or other other objects (this take a little while...) As you can see, the big nebula on the left was not impacted by the function, that's a good result! |
Original Image Star Mark
|
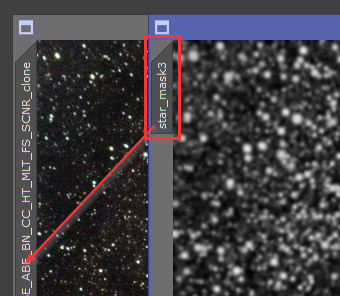
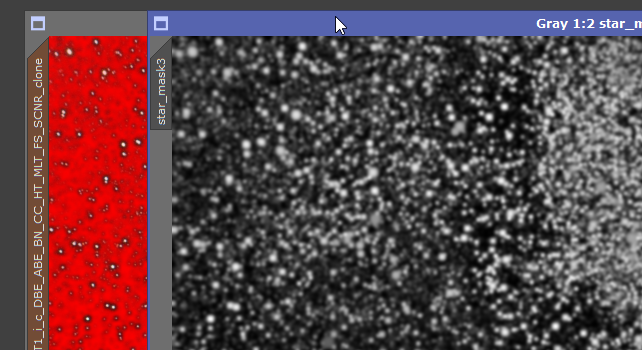
8 |
Apply the StarMask to the Original ImagePull the tab of the B/W stretched image right below the tab of the original image to apply the star mask The red image is the MASK which will be used further. Notice the tab on the left side of the windows turned to brown indicating a mask. Everything in red is protected (here this is the background). By inverting the mask you can also protect the foreground which is good if you want to reduce noise on the background. Make sure the background (and not the stars are protected) for the next steps, the background should appear red Hide the mask with CTRL+K |
|
6 |
Minimize the StarMask Image and the StarMask Process |
|
7 |
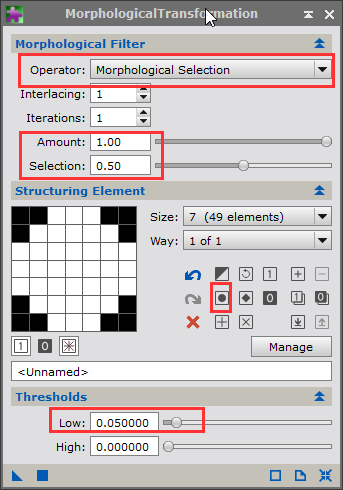
Open Morphological Transformation |
|
8 |
Create a Preview Box + Open the Previewon a typical star field area |
ALT+N
|
9 |
Set MF Filters and ThresholdTry following settings: Operator 🡺 description, try Erosion first Interlacing: 1 Iterations: 1 Amount: 100% Threshold Low: 0.05 |
|
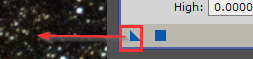
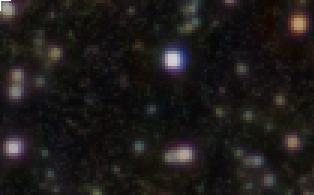
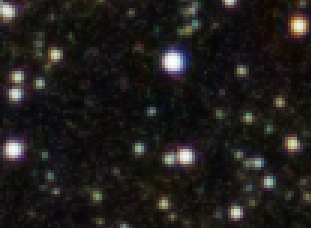
10 |
Apply the Morphological Transformation on the PreviewTest the effect by clicking on Undo / Redo |
Original
|
11 |
Remove the Preview and the MaskMenu 🡺 Mask 🡺 Remove Mask |
|
12 |
Apply the Morphological Transformation on the Entire Image |
|
13 |
Close Morphological Transformation |
|
14 |
Save the Imagefile name like “*_i_c_DBE_ABE_BN_CC_HT_MLT_FS_SM.xisf” or "20170921_M8_FUJXT1_i_c_DBE_ABE_BN_CC_HT_MLT_FS_SCNR_SM.xisf" in this case |
using postfix _SM file name like “*_SM.xisf” |


Created with the Personal Edition of HelpNDoc: Easily convert your WinHelp HLP help files to CHM with HelpNDoc's step-by-step guide