
|
PixInsight - Improving the Non-Linear Image |
Morphological Transformation
|
updated: 2021-05-30 |
|
Purpose |
The MorphologicalTransform (MT) process is an advanced implementation of several morphological transforms. It does so by applying a function using a structuring element (a mask). |
|
Activation |
Menu: Process 🡺 All Processes 🡺 MorphologialTransformation Process Explorer: Morphology 🡺 ScreenTransferFunction |
|
Input |
Stretched image, file name “*_i_c_DBE_ABE_BN_CC_HT_MLT_FS_SCNR.xisf” or similar into sub folder "aligned" |
|
Output |
Corrected image, file name “*_i_c_DBE_ABE_BN_CC_HT_MLT_FS_MT_FS_SCNR_MT.xisf” or similar into sub folder "aligned" |
|
Previous Step |
Color Correction or any image form chapter Improving the Image |
|
Next Step |
|
|
Tutorial |
https://www.youtube.com/watch?v=MhaW1mcybzk (Part 10 Star Mask Shrink) Reference: PixInsight v1.5 - Unofficial Reference Guide: Morphology (deepskycolors.com) |
Step |
Description |
Action |
|||
1 |
Start with the fully stretched imagefrom any step after Full Stretch |
|
|||
2 |
Make a Copy of the Imagefor later usage |
Clone the Image |
|||
3 |
Send the Clone to a New Workspaceto keep it separated from current changes |
Moving an Image to a Workspace |
|||
4 |
Create a MaskMenu: Image 🡺 Extract 🡺 Lightness (CIE L*) |
or |
|||
5 |
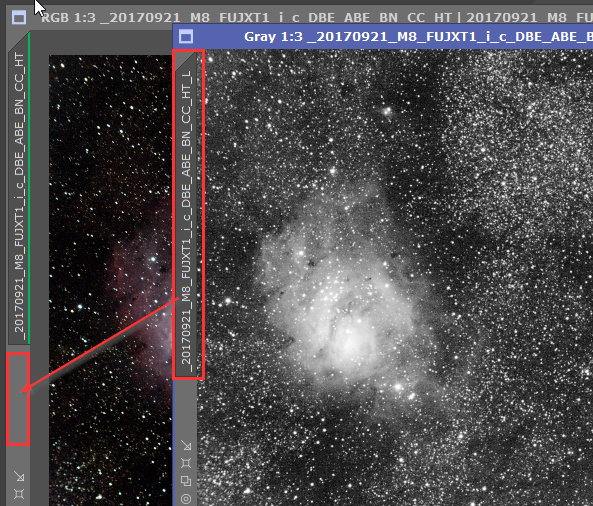
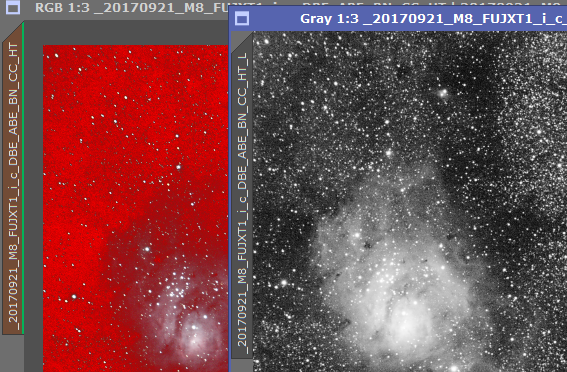
Apply the Mask to the Original ImagePull the tab of the B/W stretched image right below the tab of the original image to apply the mask The red image is the MASK which will be used further. Notice the tab on the left side of the windows turned to brown indicating a mask. Everything in red is protected (here this is the background). By inverting the mask you can also protect the foreground which is good if you want to reduce noise on the background. Make sure the background (and not the stars are protected) for the next steps, the background should appear red Hide the mask with CTRL+K |
|
|||
6 |
Minimize the B/W Luminance Image |
|
|||
7 |
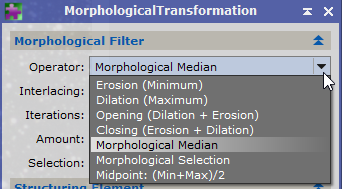
Open Morphological Transformation |
|
|||
4 |
Morphological FilterTry following settings: Operator 🡺 description, try Erosion first Interlacing: 1 Iterations: 1 Amount: 100% |
|
|||
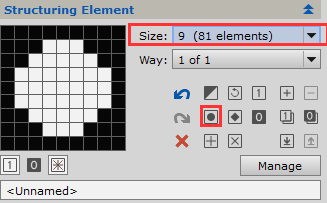
5 |
Structuring ElementSize: the more pixels your camera or sensor has, the higher size you should select, e.g. for a 20Mpixel camera select a size of 9 Way: 1 Structure: select a round structure for stars |
|
|||
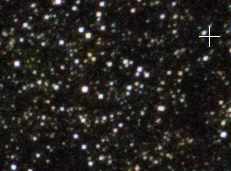
5 |
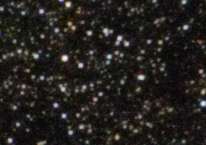
Create a Preview Box + Open the Previewin an area with some stars. This step is required to reduce the processing amount that would be required for the entire picture |
ALT+N |
|||
6 |
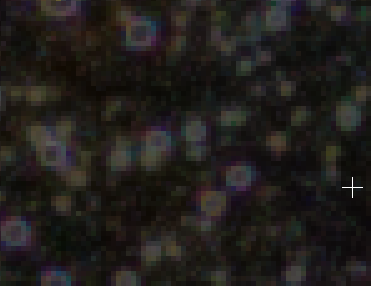
Apply the Morphological Transformation on the PreviewObviously that was too harsh and all stars became little circles... So - undo the last operation |
|
|||
7 |
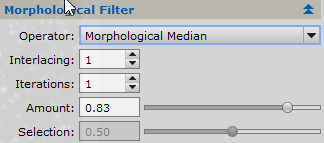
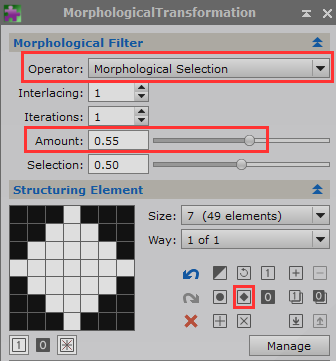
Best Morphological Transformation SettingsTry different options until the image looks good Operator: Morphological Selection Amount: 0.55 Star: Diamond |
🡺 |
|||
8 |
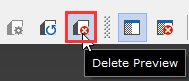
Remove the Preview and the MaskMenu 🡺 Mask 🡺 Remove Mask |
|
|||
9 |
Apply the Morphological Transformation on the Entire Image |
|
|||
9 |
Save the ImageIf you are happy with the result, close all preview images and apply the setting on the main image. Save the image and close everything in Workspace 1 use file name like “*_i_c_DBE_ABE_BN_CC_HT_MLT_FS_MT.xisf” or "20170921_M8_FUJXT1_i_c_DBE_ABE_BN_CC_HT_MLT_FS_SCNR_MT.xisf" in this case |
using postfix _SM file name like “*_SM.xisf” |
|||
13 |
Open Workspace2and move the image to workspace1 for the next chapter |
|


Created with the Personal Edition of HelpNDoc: Streamline Your CHM Help File Creation with HelpNDoc