ASIAIR based workflow |
ASIAIR Plan Mode |
updated: 2025-07-17 |
|
Purpose |
Plan mode is intended for the following scenarios:
Targets may be entered
|
|
|
Previous Step |
||
|
Next Step |
||
|
TIP |
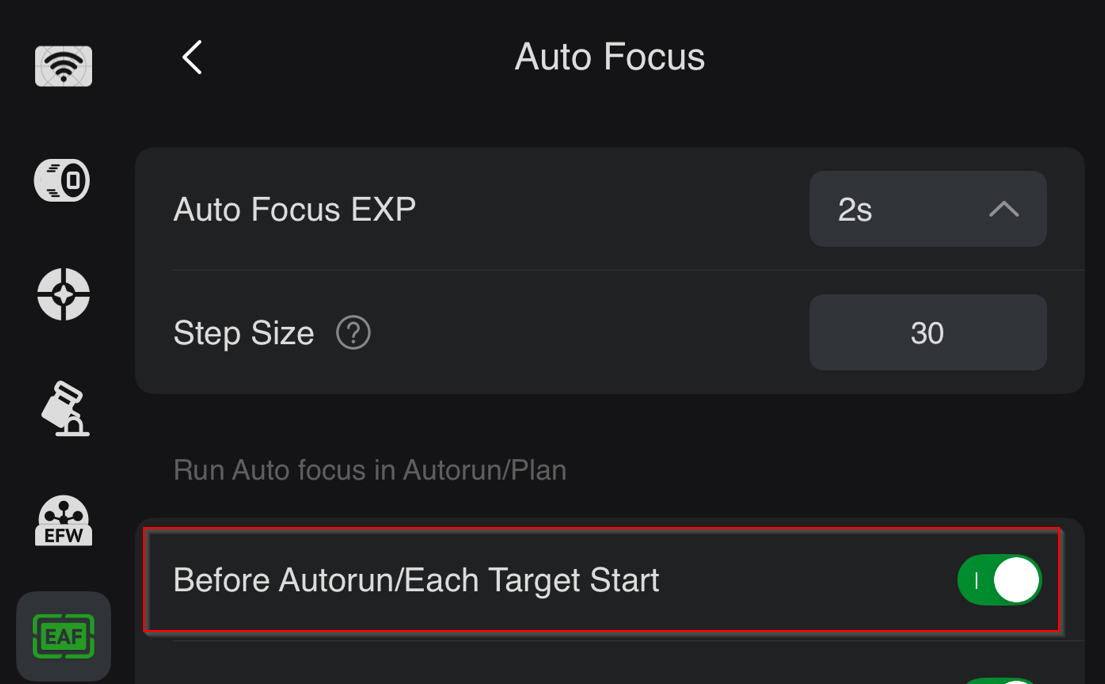
Make sure you have activated AutoFocus in the EAF settings before Autorun or each Target Start, or the plate solve for your first target may fail! Set the ZWO EAF close to the expected focus point, which depends on your optical configuration. To autofocus before going to your main target, first go to a favorite target (e.g., the home position; the scope won't move and will autofocus). Then, move on to the next target. |
|
Procedure |
|
|
Open the Plan mode in the ASIAR App and tap on the |
|
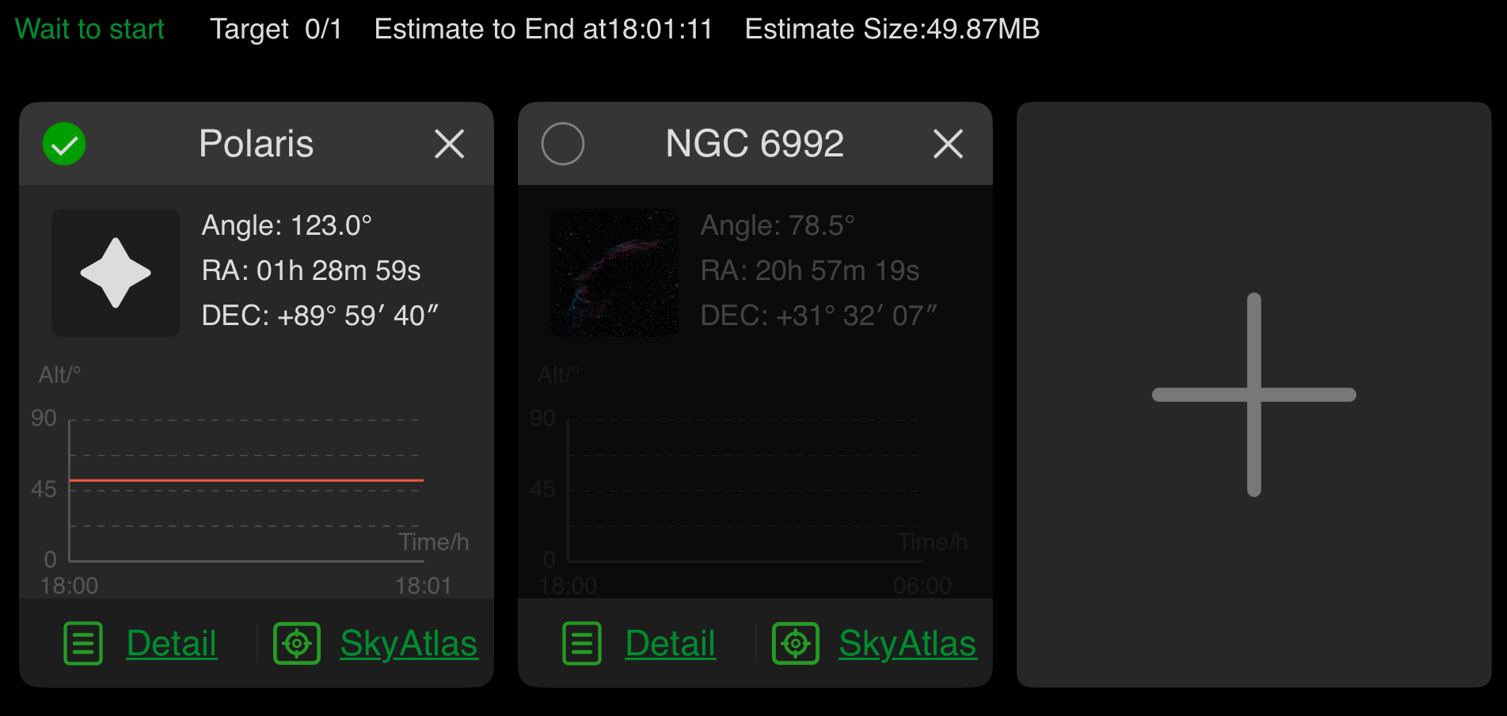
Check that Autofocus is enabled for each GoTo
|
|
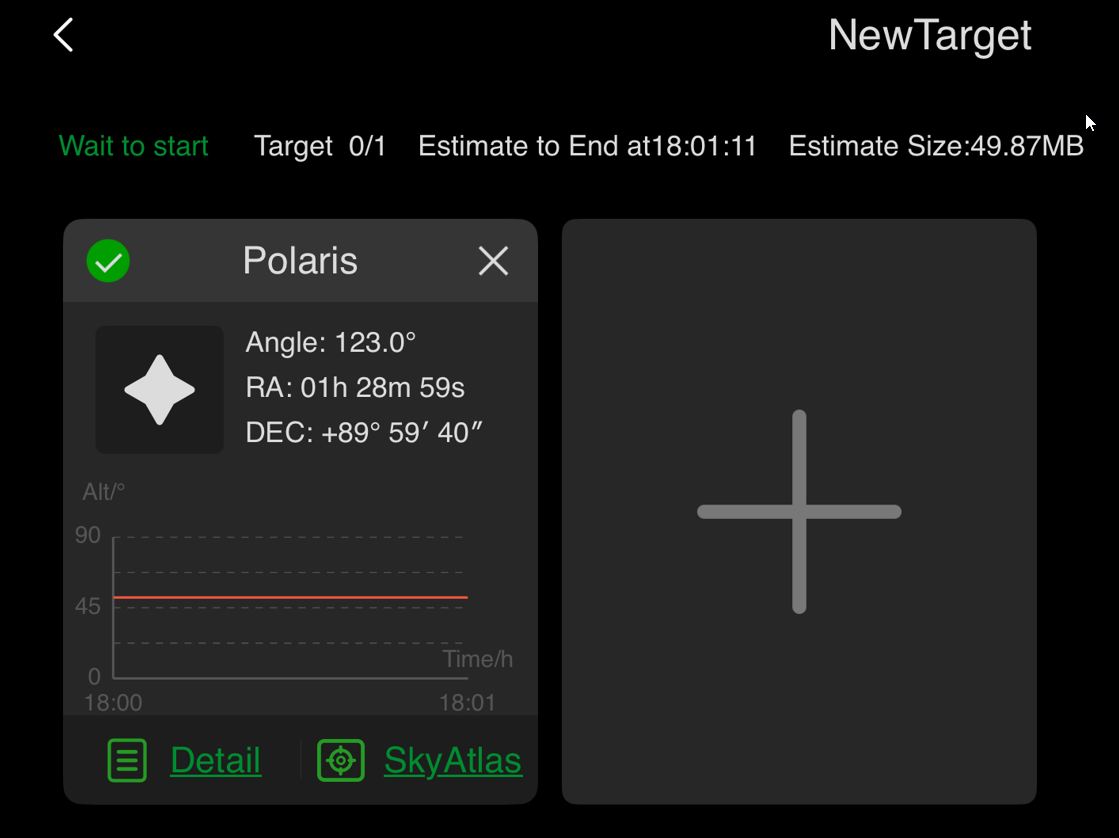
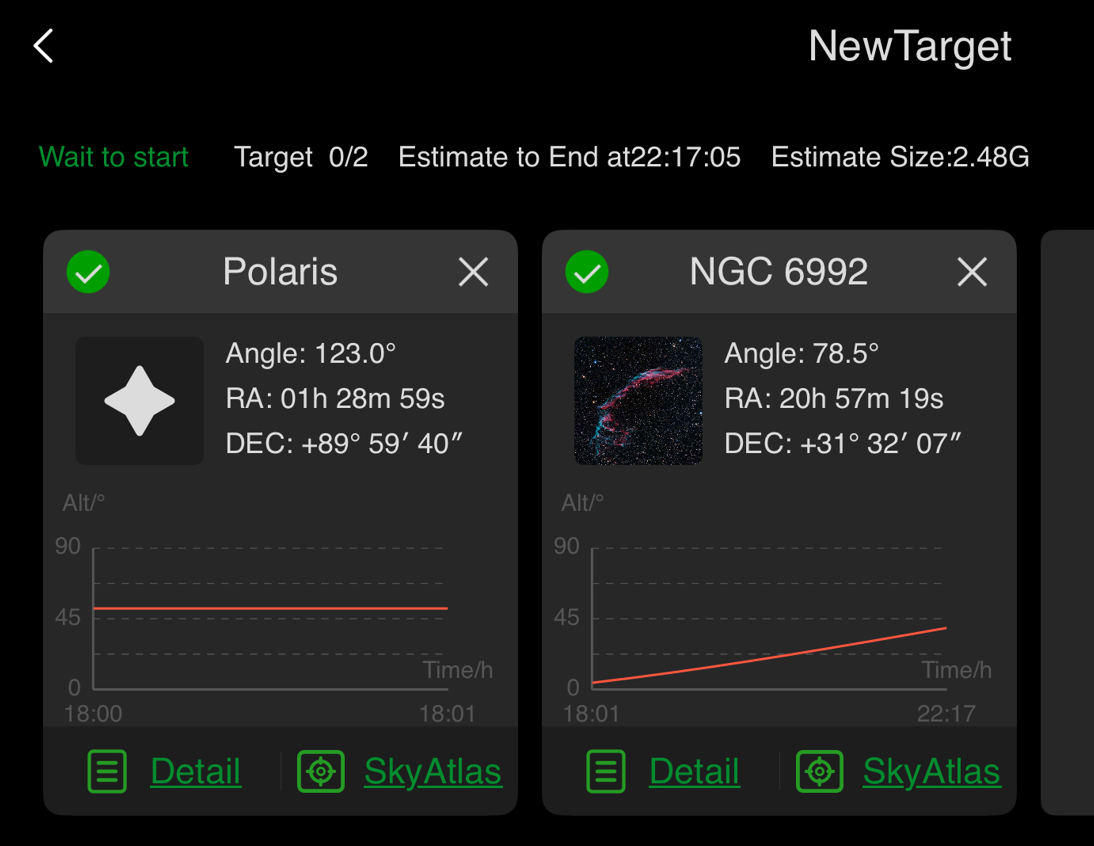
First add the default home position as new target and let's shoot 1 light frame with 60s exposure.This ensures the success to the plate solve after a GoTo with the correct focus. |
|
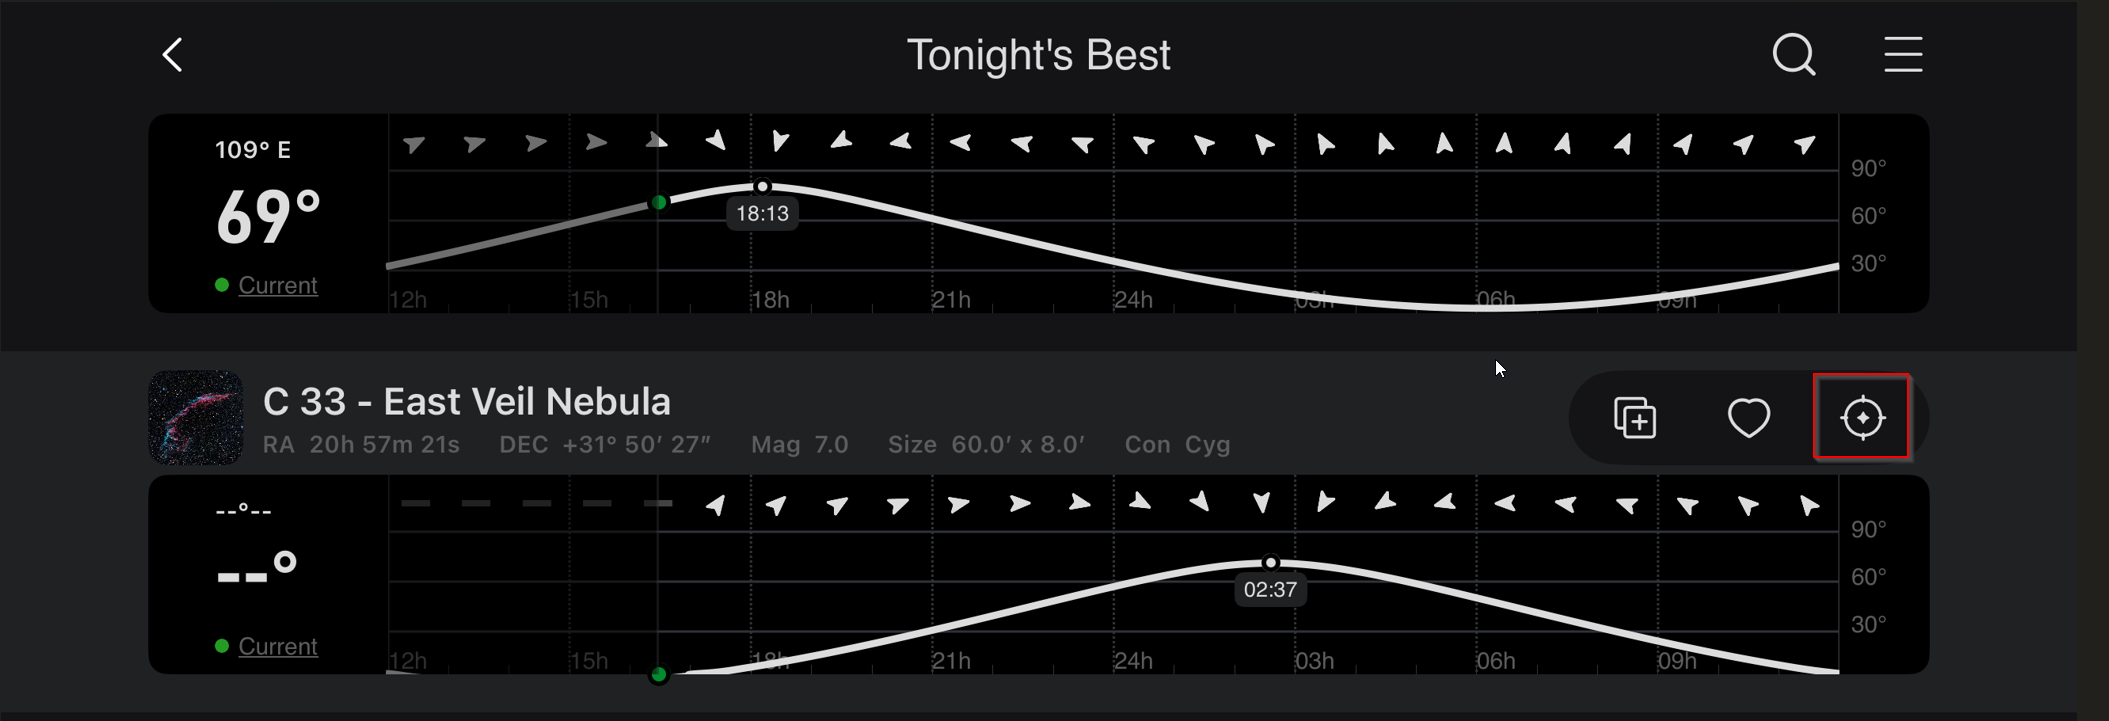
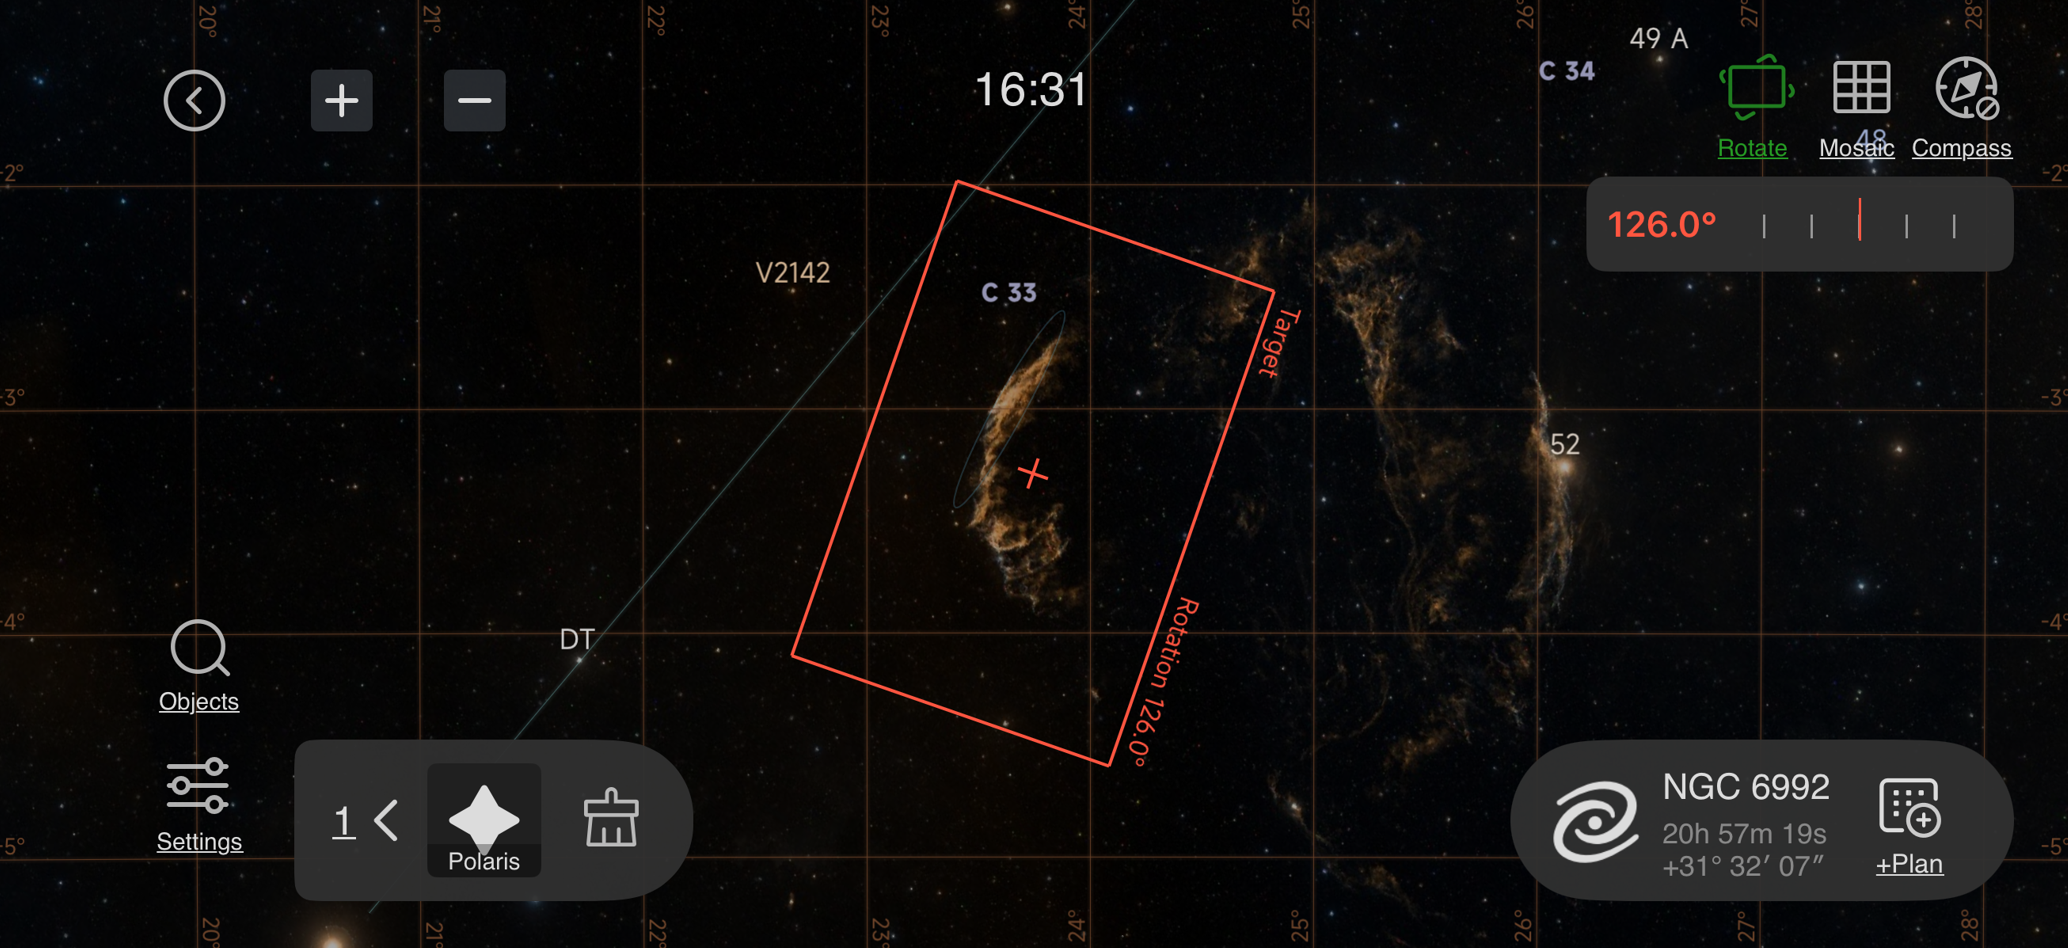
Select or or search a new target
and click on |
|
|
SkyAtlas opens in Plan Mode
|
|
|
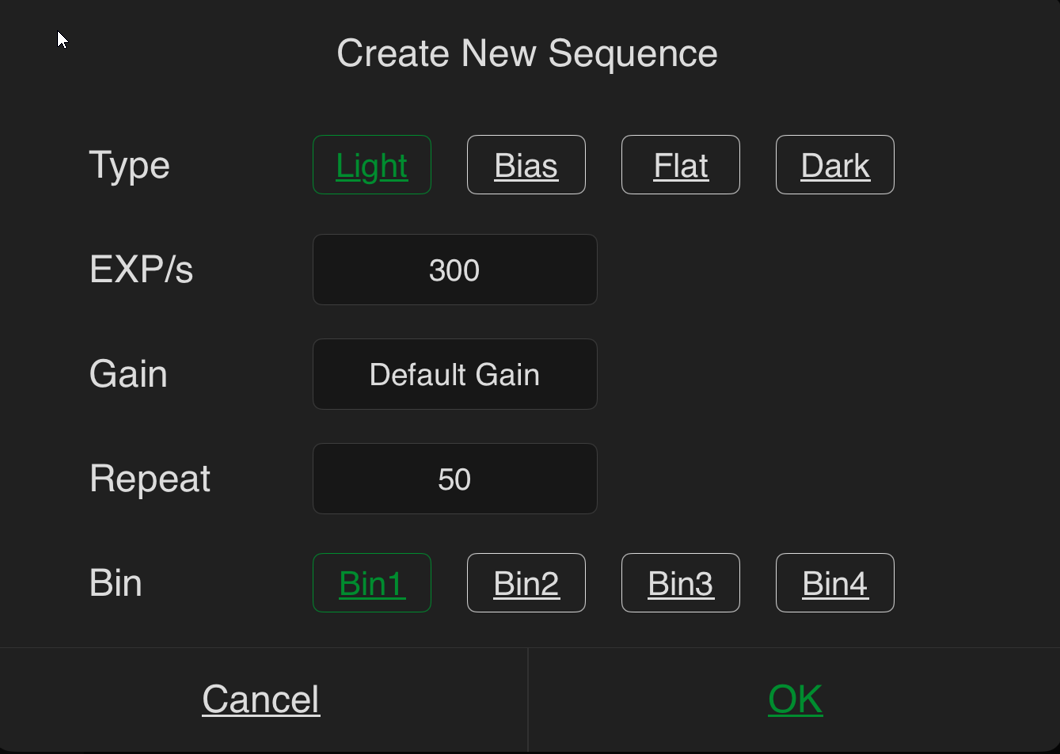
Now add details (e.g. no. of Light frames and exposure time) for the new target |
|
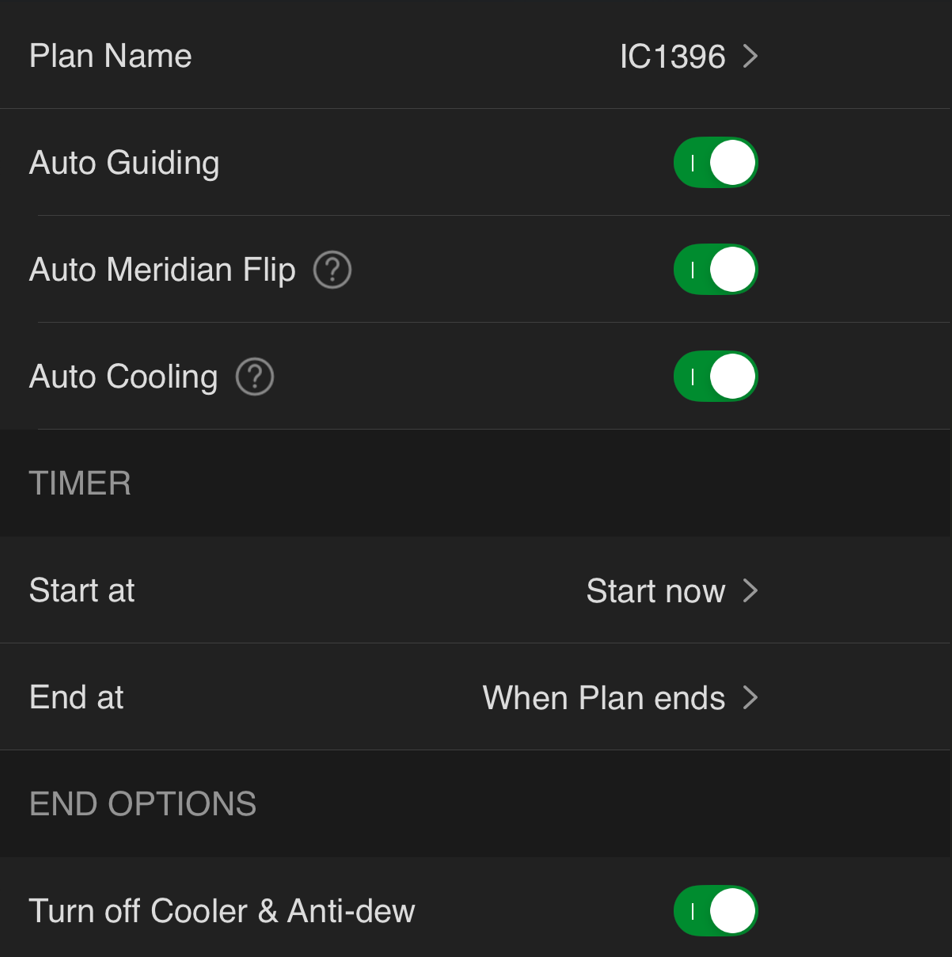
Rename the Plan to e.g. IC1396 (Elephant's Trunk) |
|
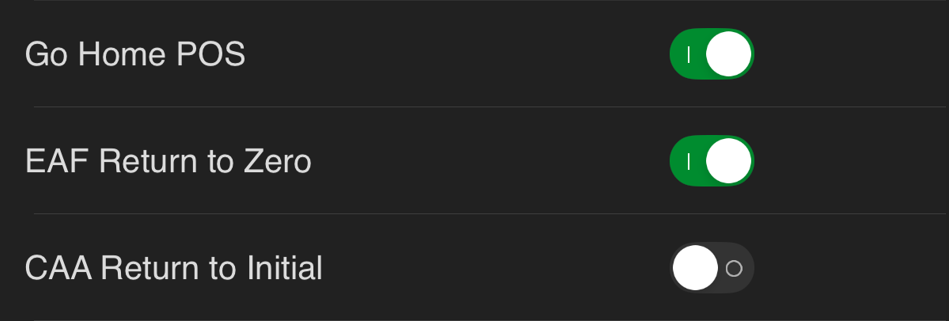
And set other plan parameters:... and don't forget to set the Start at time!
|
|
Created with the Personal Edition of HelpNDoc: Easily create CHM Help documents

