
|
PixInsight |
Step 4: Dynamic Background Extraction (DBE)
|
updated: 2025-09-28 |

|
Purpose |
Dynamic Background Extraction (DBE) helps you to get rid of light pollution and other uneven field illumination effects like vignetting. You can also run the DBE first and then the ABE to clean up the background even more nicely. |
|
Activation |
Process 🡺 All Processes 🡺 DynamicBackgroundExtractor |
|
Input |
Deconvoluted and cropped image from previous step |
|
Output |
De-noised image with post-fix “_DBE.xisf” into sub folder "Work" |
|
Previous Step |
|
|
Next Step |
|
|
Tutorial |
https://www.youtube.com/watch?v=JtA4UoaAAas (Part 6 DBE - starts around timestamp 2m56s) |
Step |
Action |
Description |
1 |
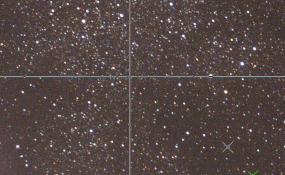
Dynamic Background ExtractionYou need to open the cropped image from the last step (double click on the main window background to open an image) before starting the DBE process. When DBE hast been started you will see a cross in the middle of the image:
|
|
2 |
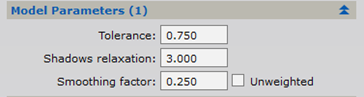
Model ParametersTolerance (pixel rejection algorithm) This parameter is expressed in sigma units, with respect to the estimated mean background value. Higher tolerance values (like 0.75) will allow for more permissive background estimations. Increasing this value favors inclusion of more pixels in the background model, but at the risk of including also pixels that don't pertain to the true background of the image. Decreasing tolerance will cause a more restrictive pixel rejection; however, too low tolerance values lead to poor sampled background models. |
|
3 |
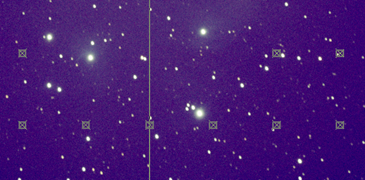
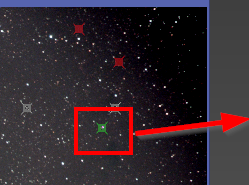
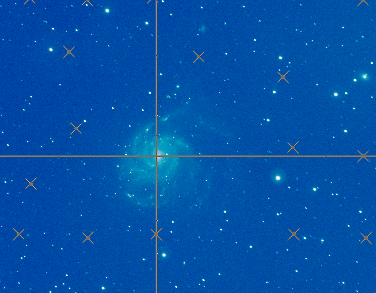
Sample Generation SectionDefault Sample Radius: set between 5 and 20 Samples per row: set to 10 - 20, depending on the image Minimum sample weight: set to 0.500 ... 0.750 Then click on You will see little gray squares on the main image that represent potential background areas.
To reevaluate the algorithm with other values, like Default Sample Radius = 20, just enter the new values and click on If the gray boxes are hard to see on the background you can also change their color by double clicking on the Sample color (here it was set to red)
|
|
3a |
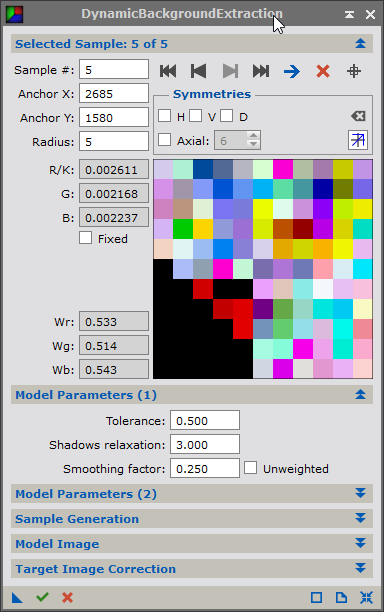
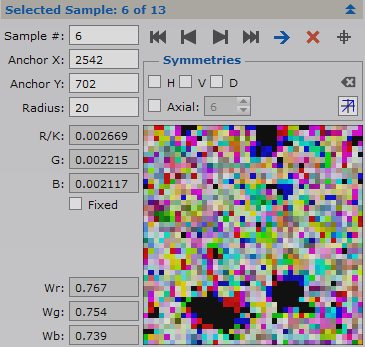
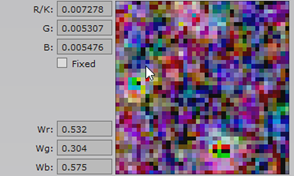
Sample EvaluationThe sample details will be displayed in the upper part of the tool. To see the details of one of the detected background areas click on one of them and watch the result on the right. |
|
3b |
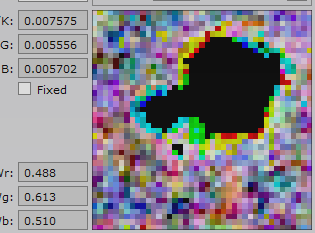
You now have to check each detected background sample. The samples must not include stars (black round areas like on the right). This means that a star was included in the background detection which leads to poor results during the process. |
|
3c |
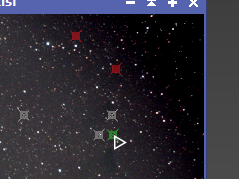
To avoid including stars just move the corresponding gray box on the main image into an area without stars. Repeat this for all background samples by scrolling through the list of results: You can manually add sample points by left clicking into an area of the main image that contains no stars or nebulas. |
|
4 |
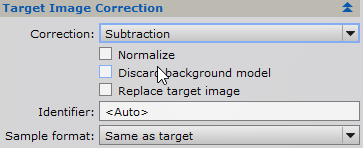
Target Image Correction SectionSet Correction to "Subtraction" |
|
5 |
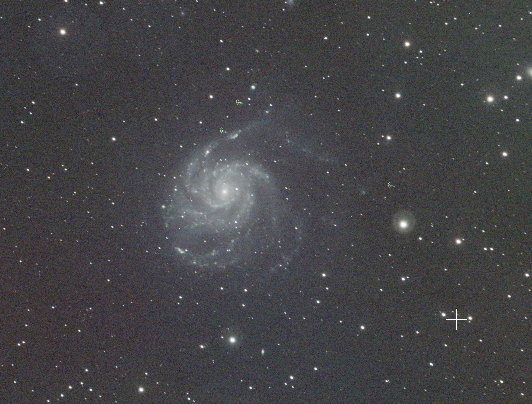
Apply Background Extraction When done check the background image (has to be stretched before you can see anything!) and the final picture (has also to be stretched). |
Before: After: |
5 |
Save the Image and the Background |
Menu: File 🡺 Save As Main image: 20170921_M8_FUJXT1_i_c_DBE.xisf" for example Background image: 20170921_M8_FUJXT1_i_c_DBE_background.xisf |


Created with the Personal Edition of HelpNDoc: Streamline Your Documentation Creation with a Help Authoring Tool