
|
PixInsight |
Step 4: Background Neutralization (BN)
|
updated: 2025-09-28 |

|
Purpose |
Neutralizes the sky background of a color deep-sky image. The background neutralization task equalizes the average red, green and blue components of a color deep sky image to yield a neutral gray rendition of the sky background. Neutralization is carried out by applying per-channel linear transformations computed from a set of pixels sampled on a background reference image. |
|
Activation |
Process 🡺 All Processes 🡺 BackgroundNeutralization |
|
Input |
Deconvoluted and cropped image from previous step |
|
Output |
De-noised image with post-fix “_BN.xisf” into folder "Work" |
|
Previous Step |
|
|
Next Step |
|
|
Tutorial |
https://www.youtube.com/watch?v=JtA4UoaAAas (Part 6 DBE - starts around timestamp 2m56s) |
Step |
Description |
Action |
1 |
Open the image form the last step (background extraction) |
|
2 |
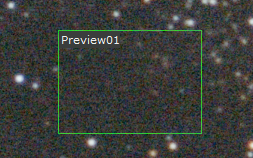
Create a preview without any starsSelect a region without any stars and press ALT+N |
|
3 |
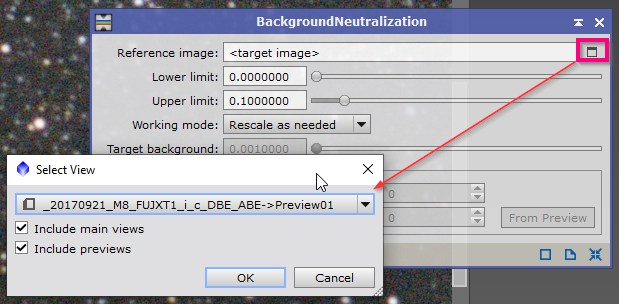
Open Background Neutralization |
|
4 |
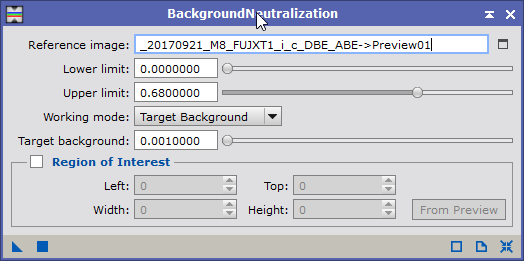
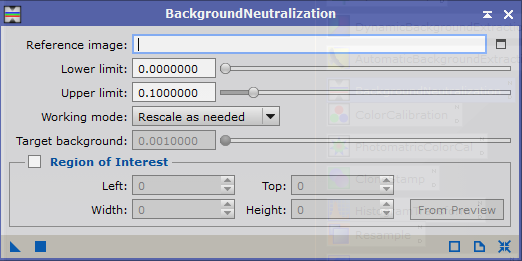
Select previously created viewLower Limit: Lower bound of the set of background pixels. Background reference pixels with values less than or equal to this value will be rejected for calculation of mean background levels. Note that since the minimum allowed value for this parameter is zero, black pixels are never taken into account. Upper Limit: Upper bound of the set of background pixels. Background reference pixels above this value will be rejected for calculation of mean background levels. Working mode:
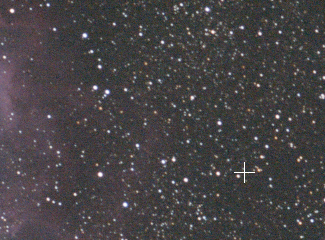
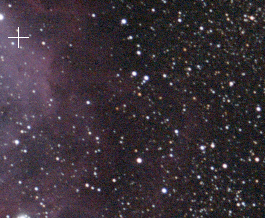
before after
|
or use these settings: |
5 |
Start the Process |
Pull the blue triangle |
6 |
Check for Improvements |
use the undo / redo icons in the menu to switch back and for
|
7 |
Save the image |
file name like *_i_c_DBE_ABE_BN.xisf |
8 |
Keep the preview window |
it will be reused in the next step. |


Created with the Personal Edition of HelpNDoc: Don't Let Unauthorized Users View Your PDFs: Learn How to Set Passwords