
|
PixInsight |
Step 4: Multiscale Linear Transform |
updated: 2025-09-28 |
|
Purpose |
Is used to reduce noise on the image background |
|
Activation |
Menu: Image 🡺 Extract 🡺 MultiscaleLinearTransform Process Explorer: NoiseReduction 🡺 MultiscaleLinearTransform |
|
Input |
Deconvoluted and cropped image from previous step Plus masked image from previous step with protected foreground |
|
Output |
De-noised image with post-fix “*_MLT.xisf” into folder "Work |
|
Previous Step |
|
|
Next Step |
|
|
Tutorial |
|
Step |
Description |
Action |
|||||||||||||||||||||||||
1 |
Create a Mask |
see > Create a mask |
|||||||||||||||||||||||||
2 |
Invert the mask to work on the background noiseso that the background is unprotected and the foreground is protected and hide the mask with CTRL+K |
|
|||||||||||||||||||||||||
3 |
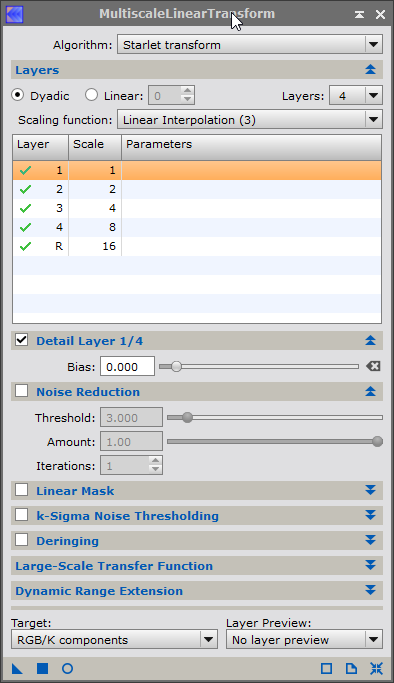
Open Multiscale Linear Transform |
|
|||||||||||||||||||||||||
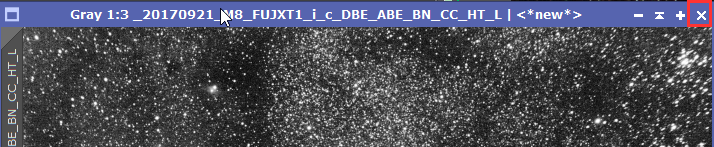
4 |
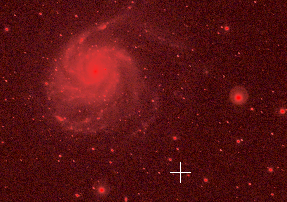
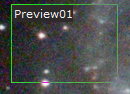
Open a Preview Windowdepending on the objects in you image you might include nebulae, galaxies or stars |
Press ALT+N and draw a rectangle on your masked image |
|||||||||||||||||||||||||
5 |
Open a Real-Time Preview Windowsand select as source the preview from the previous step |
|
|||||||||||||||||||||||||
6 |
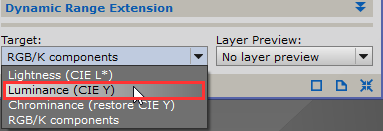
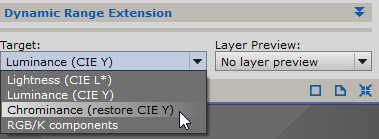
Set Dynamic Range TargetSelect Luminance |
|
|||||||||||||||||||||||||
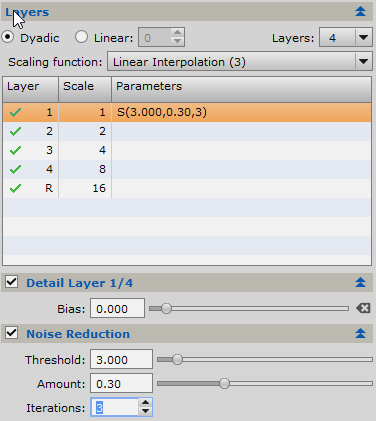
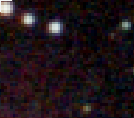
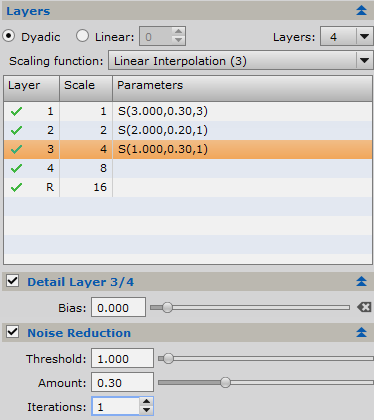
7 |
Set Noise Reduction Parameters Layer 1Try followings settings for layer 1: Bias: 0.0 Threshold: 3.0 Amount: 0.3 Iterations: 3 You can immediately check the impact by toggling the before / after icon on the preview window: After: Before: |
|
|||||||||||||||||||||||||
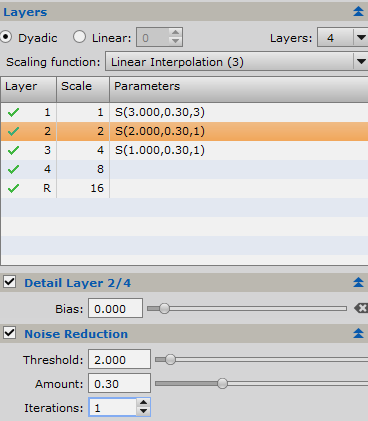
8 |
Set Noise Reduction Parameters Layer 2Try followings settings for layer 2: Bias: 0.0 Threshold: 2.0 Amount: 0.3 Iterations: 1 |
|
|||||||||||||||||||||||||
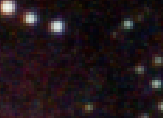
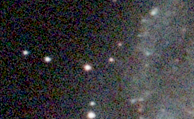
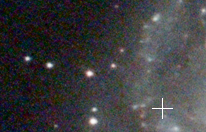
9 |
Set Noise Reduction Parameters Layer 3Try followings settings for layer 3: Bias: 0.0 Threshold: 1.0 Amount: 0.3 Iterations: 1 Before: After: |
|
|||||||||||||||||||||||||
10 |
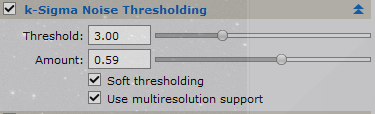
k-Sigma Noise ThresholdingExperiment with threshold and amount, soft threshold and multi resolution. |
|
|||||||||||||||||||||||||
11 |
Close the Preview Window |
|
|||||||||||||||||||||||||
12 |
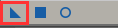
Apply the function to your full ImagePull the little blue triangle onto your image |
|
|||||||||||||||||||||||||
13 |
Reset the Multiscale Linear TransformationThis will clear all previous settings |
|
|||||||||||||||||||||||||
14 |
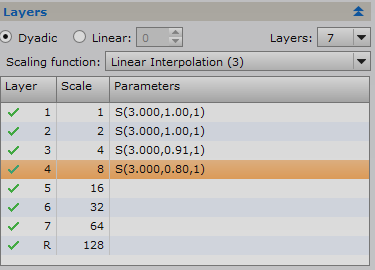
Switch to Chrominance in the Dynamic Range Extensionand extend the function to 7 layers |
|
|||||||||||||||||||||||||
15 |
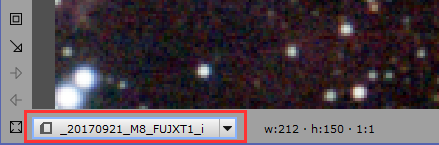
Change the Preview from Step 2and select a section with background and some stars to see the effects |
|
|||||||||||||||||||||||||
16 |
Open the Real-Time Preview Windowsselect the preview from step 2 |
|
|||||||||||||||||||||||||
17 |
Set Noise Reduction Parameters
|


|
Layer |
Bias |
Threshold |
Amounts |
Iterations |
|
1 |
0.0 |
3.0 |
1.0 |
1 |
|
2 |
0.0 |
3.0 |
1.0 |
1 |
|
3 |
0.0 |
3.0 |
0.91 |
1 |
|
4 |
0.0 |
3.0 |
0.8 |
1 |
18
Close the Real-Time Preview Window
19
Apply the Function to Your Image
Pull the little blue triangle onto your image
20
Close Multiscale Linear Transform
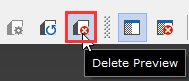
21
Remove the Preview01
22
Remove Mask
... and the brown color on the window tab returns to black
Menu 🡺 Mask 🡺 Remove Mask
23
Close the B/W Luminance window
24
Save the Result
Append a "*_MLT" to the file name
file name “*_i_c_DBE_BN_CC_HT_MLT.xisf” or similar into sub folder "aligned"
25
Keep open image for the next step
it will be reused in the next step.
Created with the Personal Edition of HelpNDoc: What is a Help Authoring tool?