
|
PixInsight - Frame Selection |
Automatic Selection using Sub-Frames Selector |
updated: 2021-08-20 |


Step |
Action |
Description |
1 |
Target Subframes: Add light frames
|
Remark: importing a 56MB RAF file from a Fuji XT takes more than 1 minute! |
2 |
Set System Parameters
|
The settings depend on your camera and equipment.
|
3 |
Measuring (Apply Global)
|
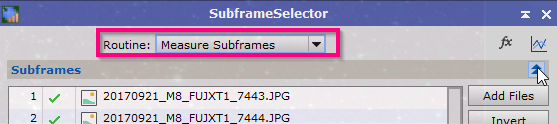
In the Routine setting (top of the window) select Measure Subframes - then click on the blue circle at the bottom to start the measurement. ... this can take a while, depending on the size and character of your subs.. |
4 |
Check Measurement Table
|
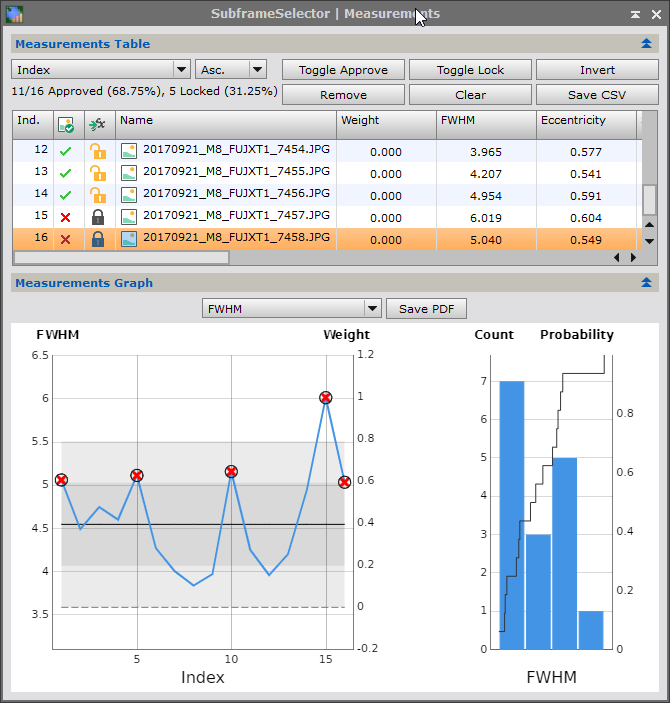
Meaning of FWHM quality values: 1 to 3: quite good 2 to 5: medium quality over 5: unusable Click on high spikes on the plot to deselect bad subs. |
5 |
Bookmark the best sub as reference sub
|
the reference sub in this example is #8: 20170921_M8_FUJXT1_7450_a.xisf |
6 |
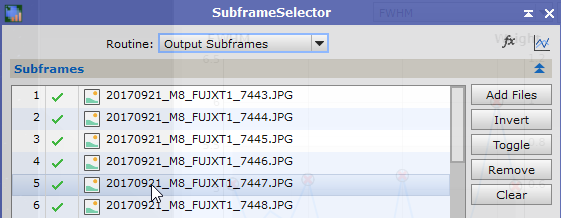
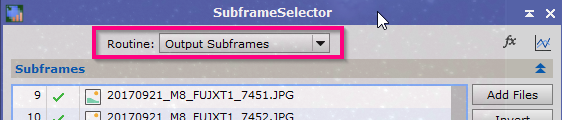
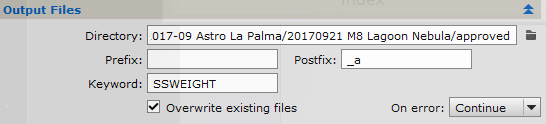
Output good subframes
|
Once subframes have been approved or rejected, and optionally subframe weights applied, the approved subframes may be copied and/or overwritten to output directories by selecting "Output Subframes" option of the the Routine dropdown and Executing the process Globally. Output directories for approved subframes may be specified in the field, use e.g. "approved" as output directorOutput directoryy name. If a directory field is left blank, the associated subframes will be written to the same directories as their corresponding target files. The prefix and postfix fields specify prefixes and postfixes that will be prepended and appended to the file name of each copied or overwritten subframe. To record subframe weights in the FITS headers of the copies specify a FITS keyword in the Weight keyword field. |
7 |
Next Step: Working with Master Calibration Files |
|


Created with the Personal Edition of HelpNDoc: Maximize Your Productivity with HelpNDoc's CHM Help File Creation Features