
|
PixInsight - Image Transformation |
Cropping and Rotating the Image with Dynamic Crop
|
updated: 2025-10-03 |

|
Purpose |
Cropping is used to reduce the the image to overlapping parts that are covered by all subs. This is especially important if Dithering was used during the exposure session, as Dithering always leaves small areas with different light capture times. IMPORTANT: Cropping or rotating an image will destroy its astrometry data. Therefore, it is highly recommended that you apply a Plate Solve afterwards, as this data is required for later processing steps. No additional cropping is required if you choose one of the *_autocrop.XIFS files after a batch pro-processing step. Also, these files are already plate solved. However, if you use the Dynamic Crop process to crop or rotate images, remember that the astrometric data will be destroyed. You will need to perform a subsequent plate solving. |
|
Activation |
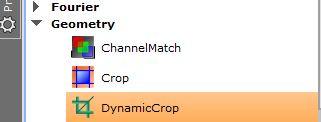
Process 🡺 All Processes 🡺 Dynamic Crop Alternative method: click on the Process Explorer on the left side of the window and go to Geometry 🡺 Dynamic Crop |
|
Input |
The integrated linear Master Light frame from the Image Alignment and Integration in sub folder "Work" |
|
Output |
Cropped picture with postfix: _CROP in folder "Work" |
|
Previous Step |
|
|
Next Step |
|
|
Resource(s) |
Processing Steps
Step |
Action |
Description |
1 |
|
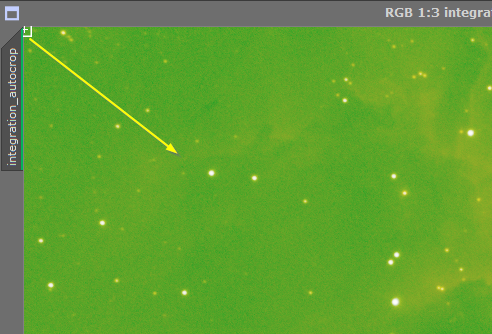
With the image loaded in PixInsight open DynamicCrop. Zoom out until you see the gray frame surrounding the image. |
2 |
|
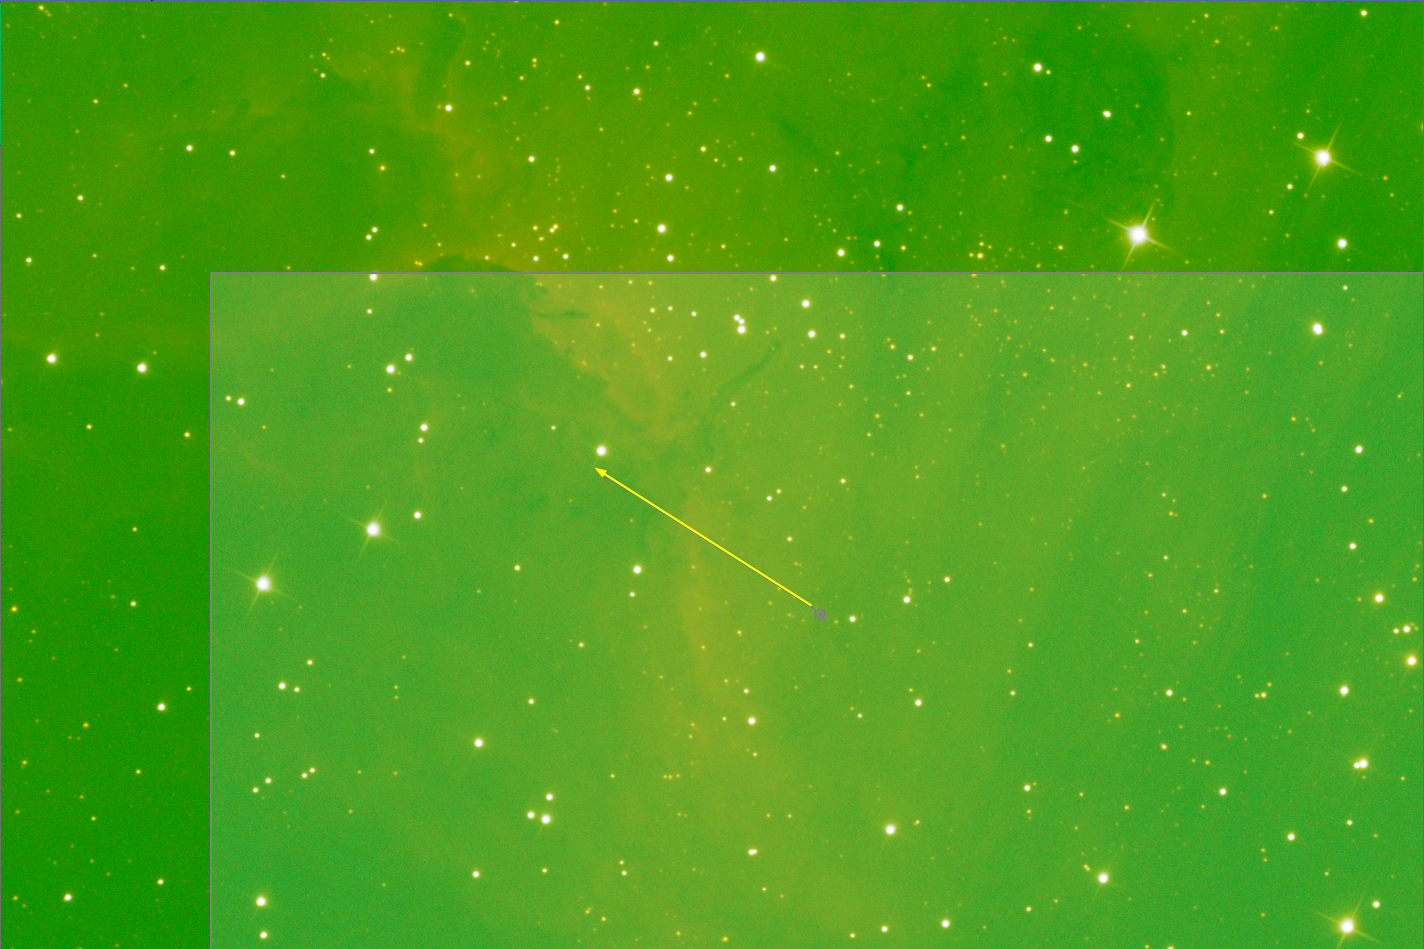
Drag the middle marker to the center of the image |
3 |
|
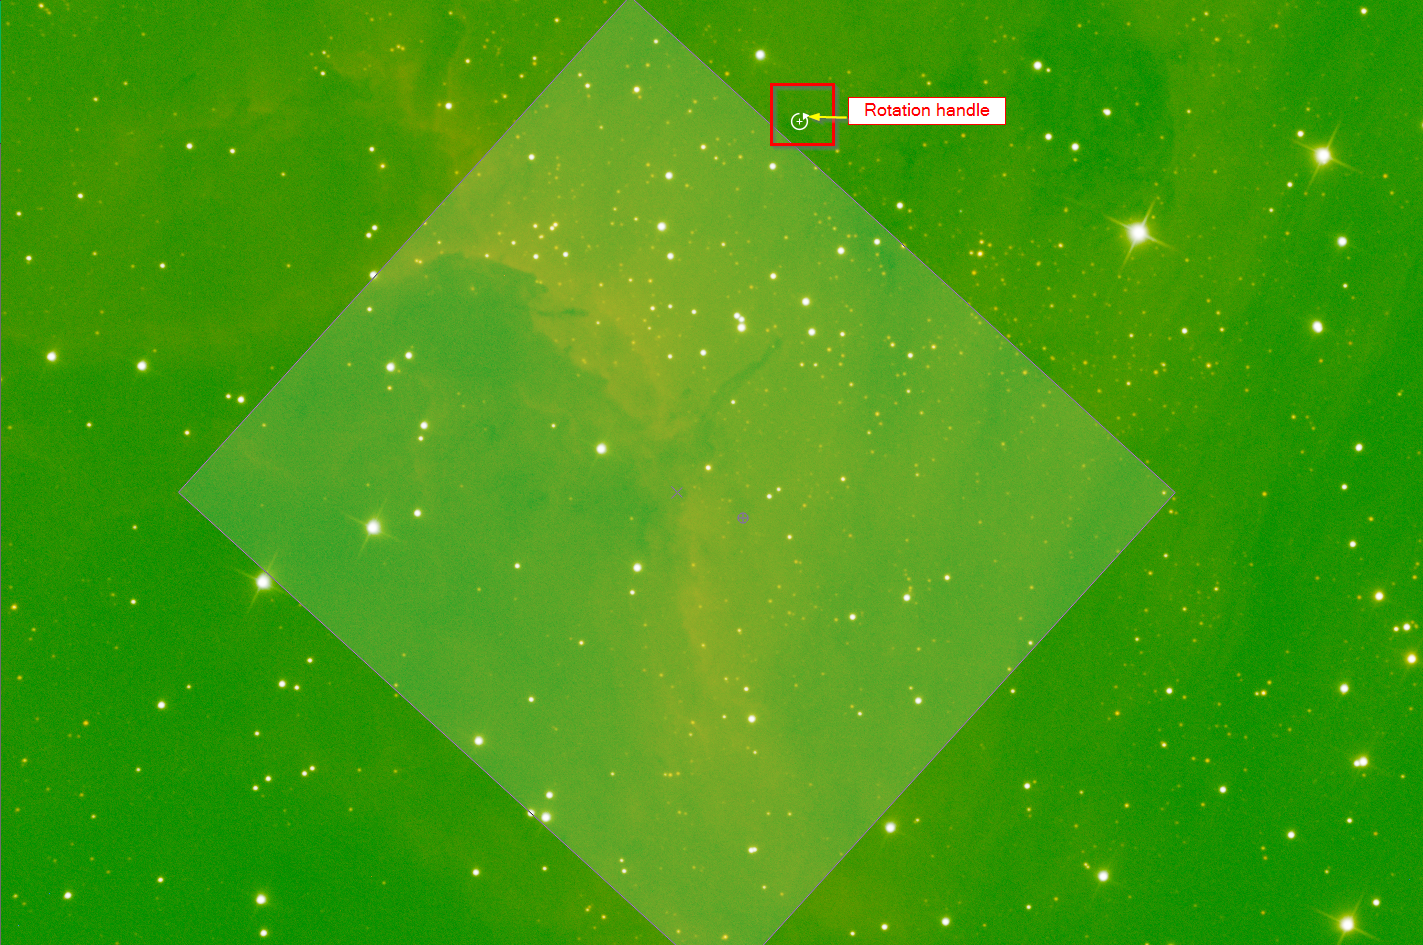
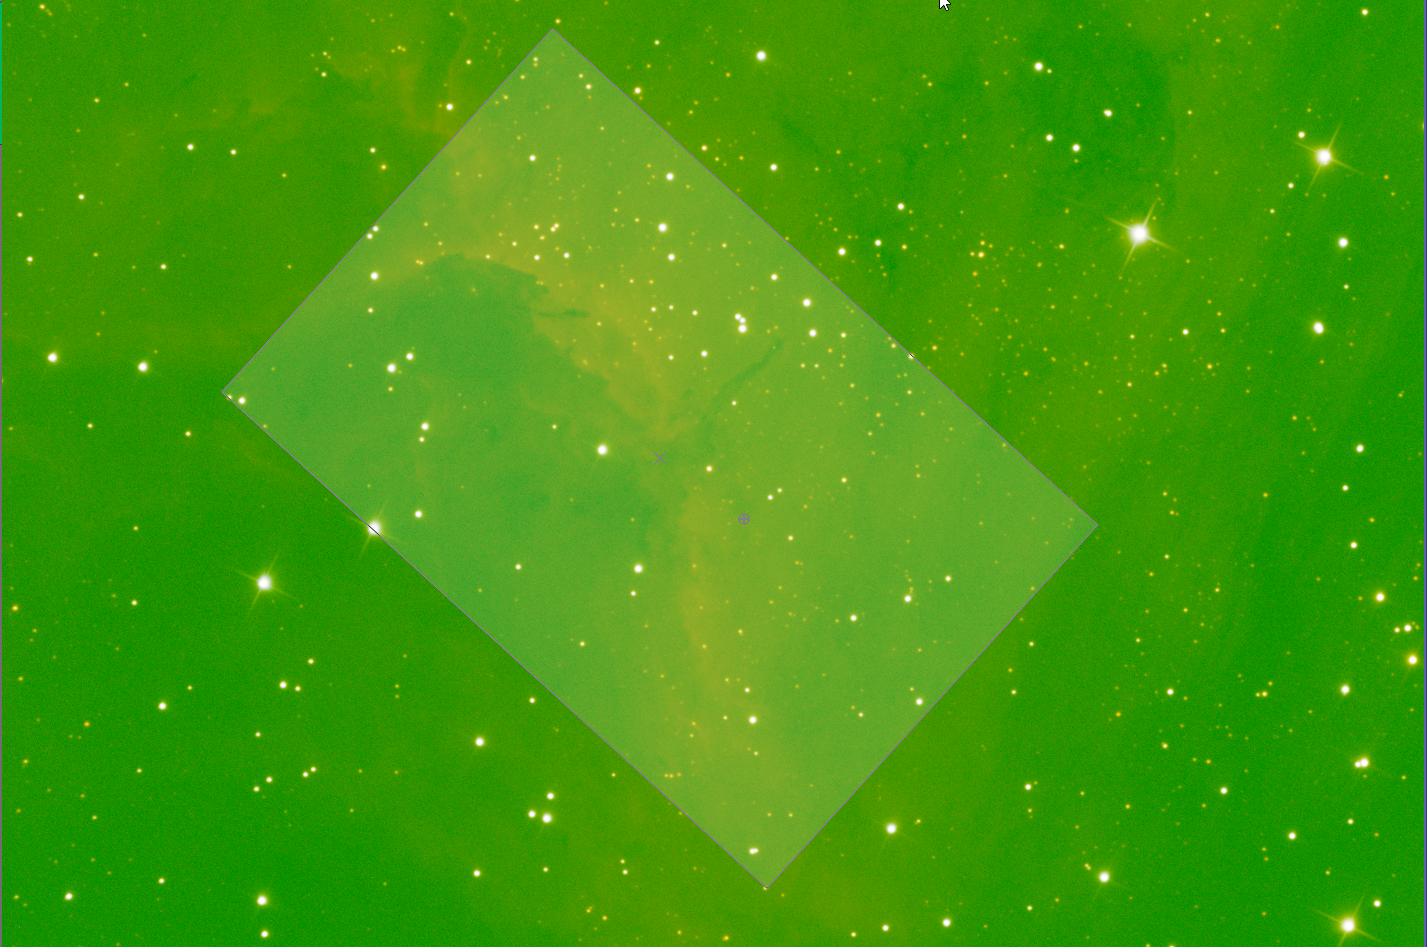
Move the cursor to one of the sides of the gray rectangle to display the rotation symbol. You can now rotate the gray rectangle to the optimal angle that covers the region in the image that you want to edit further.
|
4 |
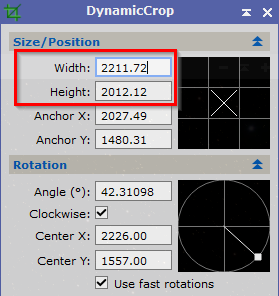
Before Aspect Ratio Correction
|
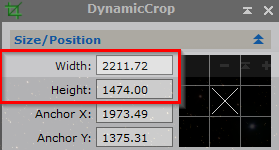
Next, check the aspect ratio of the width and height. If, for example, you want to maintain a 2:3 ratio, then adjust the width or height accordingly (unfortunately, there is no option here to set an automatic lock for the aspect ratio). In this example, divide the width (2211) by 3 and multiply by 2 (= 1474) to keep the 3:2 ratio. Set the Height to 1474. |
5 |
After Ratio Correction
|
Check again that the gray rectangle fits completely within the original image so that no corners are cut off. |
6 |
|
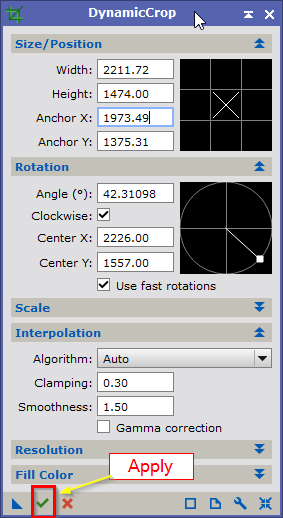
If everything is correct, the crop and rotation can be applied by clicking on the green check mark at the bottom. |
7 |
Plate Solve
|
Apply a Plate Solve restore the astrometric data in the image. |
8 |
Save the cropped image |
Save the result to postfix: _CROP in folder "Work" |

Created with the Personal Edition of HelpNDoc: Effortlessly Convert Your Markdown Content with HelpNDoc