
|
PixInsight - Master Calibration Files |
Master Dark and Master Bias Calibration Frames |
updated: 2021-08-20 |
|
Purpose |
The Image Integration module is used to generate the master bias and dark frames There are several important settings to pay attention to:
|
|
Activation |
Process 🡺 All Processes 🡺 Image Integration |
|
Input |
Dark and Bias calibration frames |
|
Output |
Master Dark and Bias frames |
|
Previous Step |
|
|
Next Step |
|
|
Tutorial |
PixInsight — Master Calibration Frames: Acquisition and Processing |
Step |
Description |
Master Dark Frames |
Master Bias Frames |
1 |
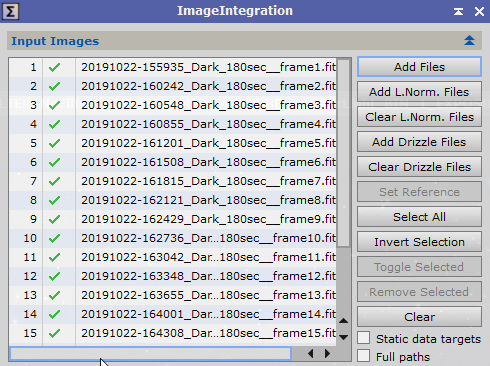
Open the Image Integration module |
|
|
2 |
Add Dark or Bias frames |
|
|
3 |
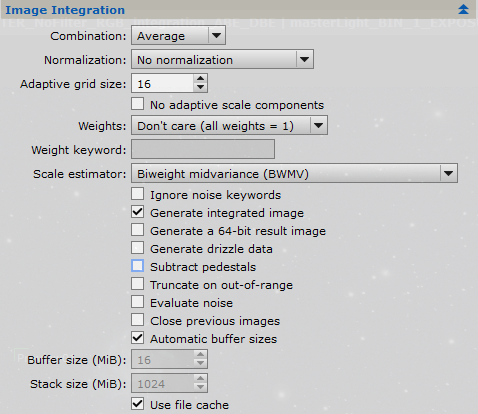
Image integration settings to be usedImportant:
|
|
|
4 |
Pixel Rejection (1) settings
|
|
|
4a |
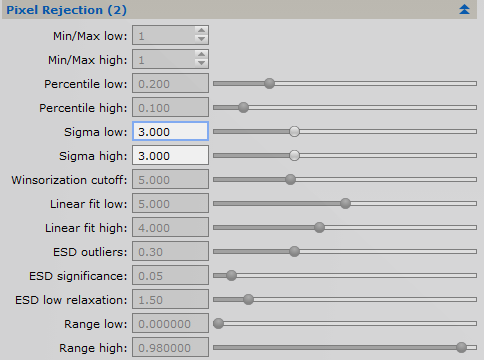
Pixel Rejection (2) |
|
|
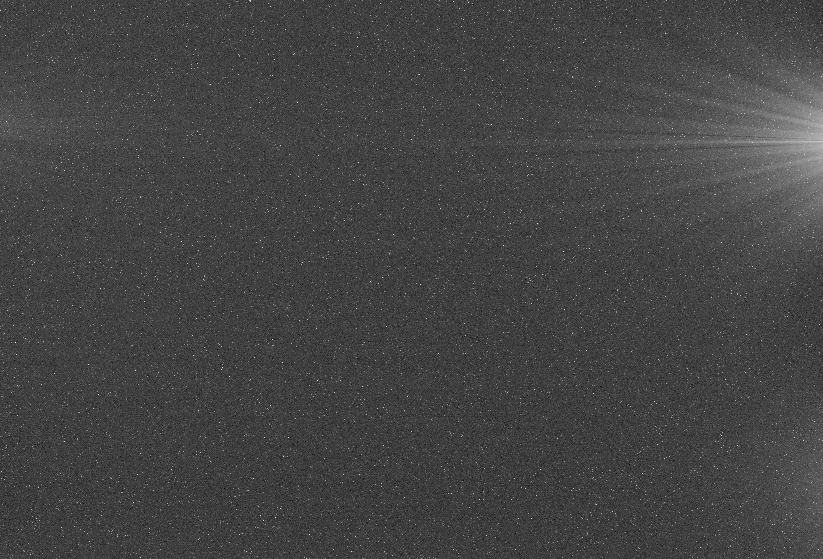
5 |
Run the IntegrationClick on the The master dark frame on the right is a typical result of an ASI294, you can clearly see effect from the heat generated by the electronic components behind the sensor chip (image is stretched). |
|
|
6 |
Save the master calibration filesuse meaningful file names, see example |
ASI294_Master_Dark_180sec-10C-20x.xisf |
ASI294_Master_Bias_180sec-10C-20x.xisf |
7 |
Next Step: Master Flat Generation (I) |
|
|


Read this article for more information: PixInsight — Master Calibration Frames: Acquisition and Processing
and: Astrophotography by Rob Kantelberg (astro-imaging.com)
Created with the Personal Edition of HelpNDoc: Single source CHM, PDF, DOC and HTML Help creation