
|
PixInsight - Master Calibration Files |
Master Flat Calibration Frames Part I |
updated: 2025-10-21 |
|
Purpose |
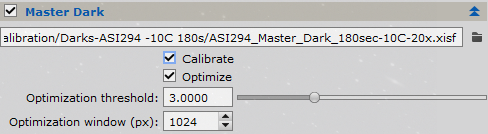
Master flat frame generation is a two-step procedure. First we must calibrate each flat frame with the IC tool. Then we have to integrate the calibrated flat frames to generate the master flat. Flat frame calibration requires bias and dark subtraction. After selecting our flat frames as target frames in IC, we'll enable the Master Bias and Master Dark sections. In the Master Dark section, be sure to enable the Optimize checkbox. This will rescale the master-bias-subtracted master dark to fit the thermal noise of each flat frame. Don't worry if your master dark has 1000 seconds of exposure and your flat frame is only 10 seconds: IC will multiply the thermal noise of the master dark by 0.01. IMPORTANT: Flat Frames should also include the correct filter name in the FITS header. As color light frames from an ASIAIR OSC camera never contain any filter information, they will be treated as NoFilter files and therefore the Flat Frames must have the FITS entry FILTER = NoFilter as well in order to be accepted by the WBPP or FBPP batch pre-processing scripts (see chapter Calibration Frames for more details) |
|
Activation |
Process 🡺 All Processes 🡺 Image Integration |
|
Input |
Flat calibration frames (folder e.g.: "\_Astro\ASI294 Calibration\Config 3\20191022_Flat ASI294 -10C" |
|
Output |
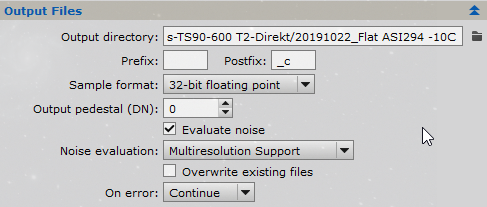
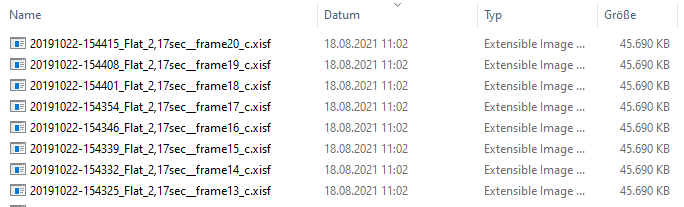
Calibrated flat files (folder: e.g.: "\_Astro\ASI294 Calibration\Config 3\20191022_Flat ASI294 -10C\Calibrated Flats" calibrated flat files will get a "*_c" postfix |
|
Previous Step |
|
|
Next Step |
|
|
Tutorial |
PixInsight — Master Calibration Frames: Acquisition and Processing |
Step |
Description |
Action |
|
1 |
Open the Image Calibration module |
|
|
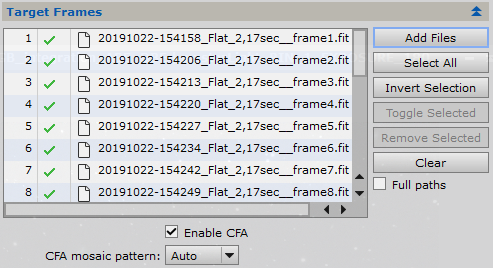
2 |
Add Flat frames
|
|
|
3 |
Section Output Files
|
|
|
4 |
Integrate the Master Bias Frames
|
|
|
5 |
Integrate the Master Dark Frames
|
|
|
6 |
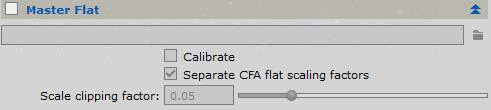
Uncheck the Master Flat box |
|
|
7 |
Run the Calibration Step I
|
|
|
8 |
Calibrated Flat Files
|
|
|
9 |
Next Step: Master Flat Generation II |
|


Created with the Personal Edition of HelpNDoc: Transform Your Word Doc into a Professional-Quality eBook with HelpNDoc