
|
PixInsight - Image Post Processing |
ABPP - Automatic Batch Pre-Processing |
updated: 2021-05-20 |
|
Purpose |
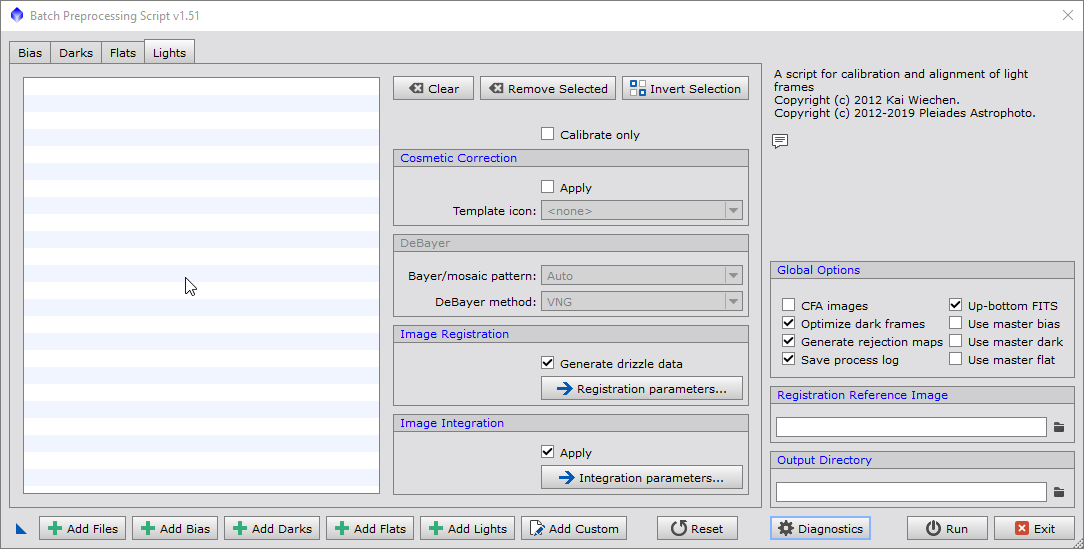
This script will add all the light frames, the flats, the darks and the bias frames, register them, stack them, debayer them and return a single stacked image. |
|
Menu |
Script 🡺 Batch Processing 🡺 BatchPreprocessing |
|
Input |
aligned original images (light, dark, ...) |
|
Output |
integrated picture, file name “*_i.xisf” into sub folder "aligned" |
|
Previous Step |
|
|
Next Step |
|
|
Tutorial |
Step |
Action |
Description |
1 |
Add Frames
For example: if you did a live stacking with ASIAIR Pro you will get filenames like: "Stack20_Bias_1.0ms_Bin1_gain120_20210813-134241.fit". Just rename them to e.g. "Master_Stack20_Bias_1.0ms_Bin1_gain120_20210813-134241.fit" and the automatic batch process will be able to treat them as master files. Otherwise the calibration frames will be ignored during the light frame calibration part of the process with an error message like: !!! Error: Master Flat file was not be generated. |
|
2 |
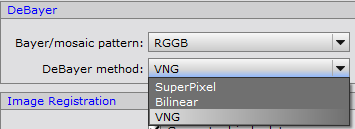
Debayer
|
|
3 |
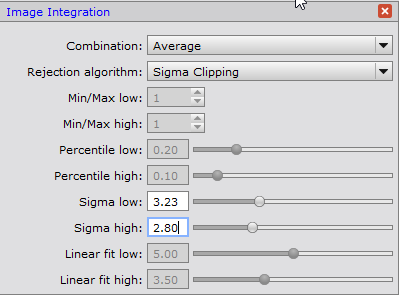
Image Integration
|
|
4 |
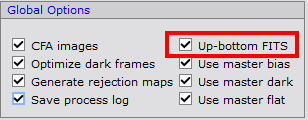
Set Global Options
|
|
5 |
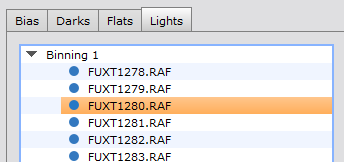
Add imagesTo define the reference image just double click on the best light frame (or the one which was marked REF…). in this case the image FUXT1280.RAF |
|
6 |
Registration of Reference Image |
|
7 |
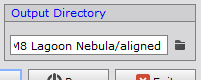
Set Output FolderAs output folder select e.g. a subfolder called AutoCal\master
|
|
8 |
DiagnosticsClick on Depending on the number of files to be processed and the size of each file the process may take up many gigabytes of space, please make sure you have enough space on the disk. (Personal note: Had to move the target directory to an external disk E:\Astro\20190921 ElephantTrunk ISO1600\calibration to be able to run this batch) |
|
9 |
RunThen click on There will be no success message when completed, just the batch control window will reappear with checks at the master frame files that have been generated. |
|
10 |
Resulting MasterfilesYou can find the masterfiles in the master sub-folder destination folders: |
|
11 |
Final Check |
Check the High and Low rejection pictures and first stretch them, if they seem OK, you can close them. The open the light-BINNING file and stretch it. |


Created with the Personal Edition of HelpNDoc: Import and export Markdown documents