
|
4. Astro Session Workflows |
ASIAIR Based Workflow |
updated: 2023-08-03 |
|
Purpose |
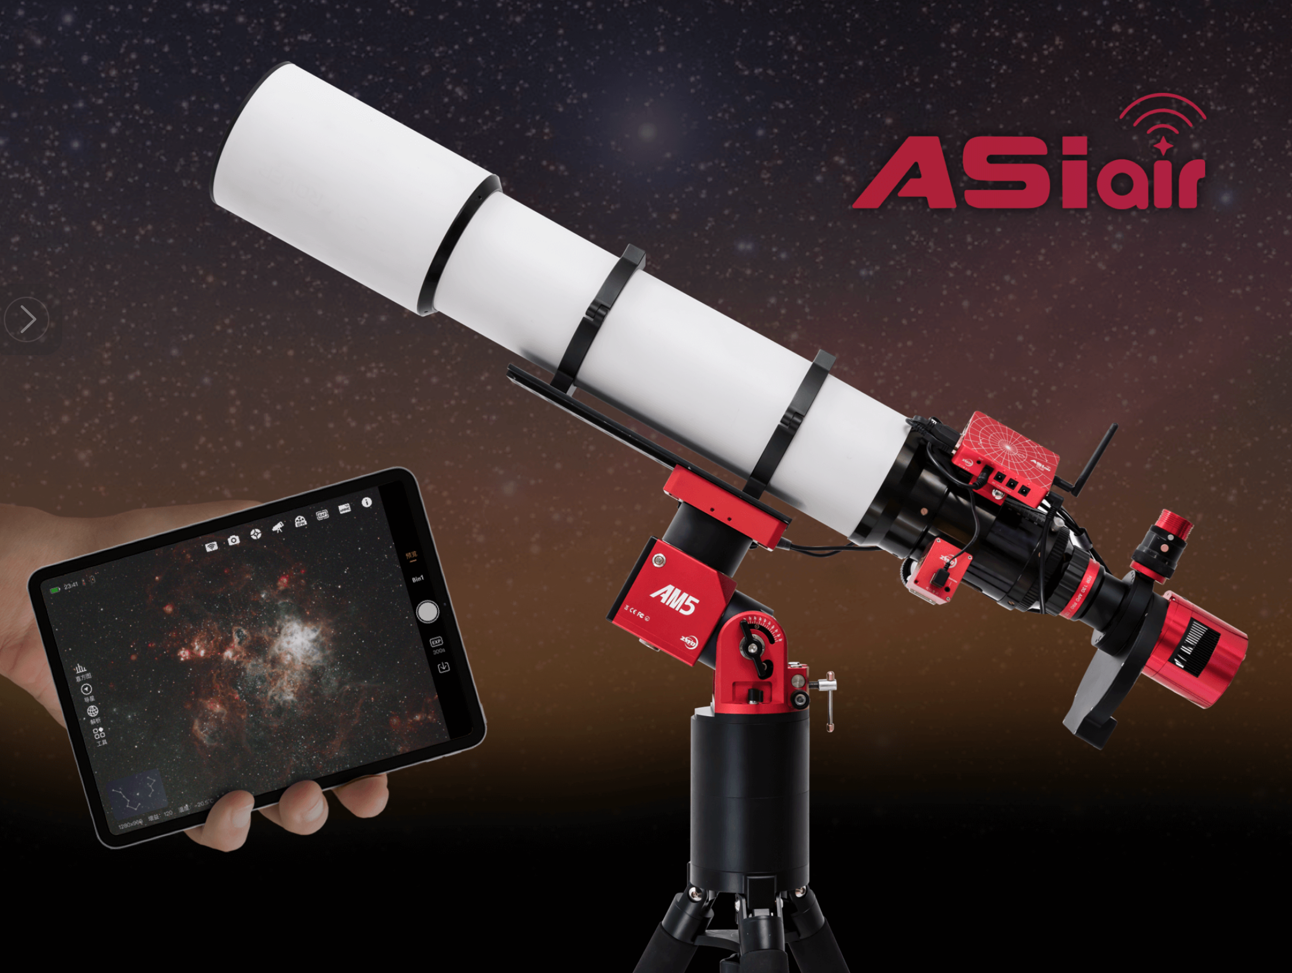
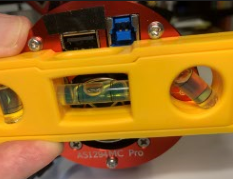
Final equipment set-up, calibration and picture shooting. For a detailed description of the ASIAIR Pro see the ASIAIR Pro Hardware chapter. |
|
Output |
hopefully many good raw pictures... |
|
Previous Step |
|
|
Next Step |
ASIAIR Installation and Activation Steps
|
Step |
What to Do |
|
|
|
1 |
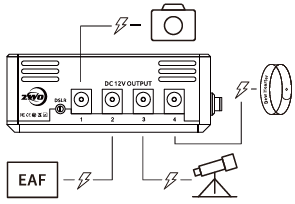
Install all cables |
and the power supply |
|
|
2 |
Connect and power up the Mount |
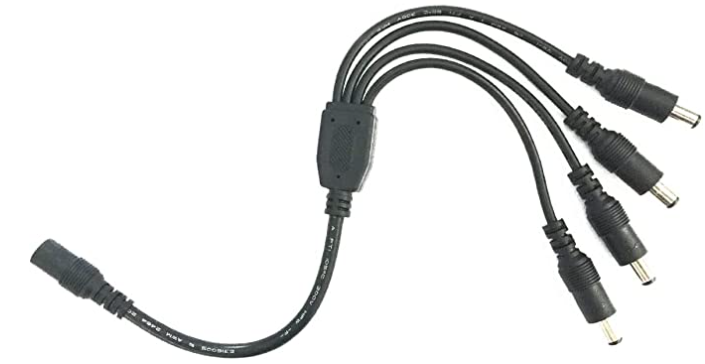
The procedure for connecting your scope (mount) varies by brand and model. WARNING: Some mounts require too much power to be controlled by the ASIAIR unit. A better way to power the mount is to use a 12V 5.5mm cable splitter between the power supply and the mount. |
Please refer to the Connecting Your Mount section for the details
|
|
3 |
Check Cables Positions and Length |
Manually rotate the telescope 90° left and right to make sure the cables are not caught, then return the telescope to its zero position. |
|
|
4 |
Power Up |
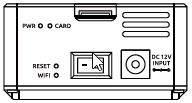
Turn on the power and wait for the ASIAIR to beep once |
|
|
5 |
Start the ASIAIR App |
Connect your mobile device to the same WiFi network used by the ASIAIR. On your mobile device, search for SSID ASIARI_xxxx (in AP mode). password: 12345678 *) |
|
|
5.1. |
ASIAIR Start Screen |
|
|
|
5.2. |
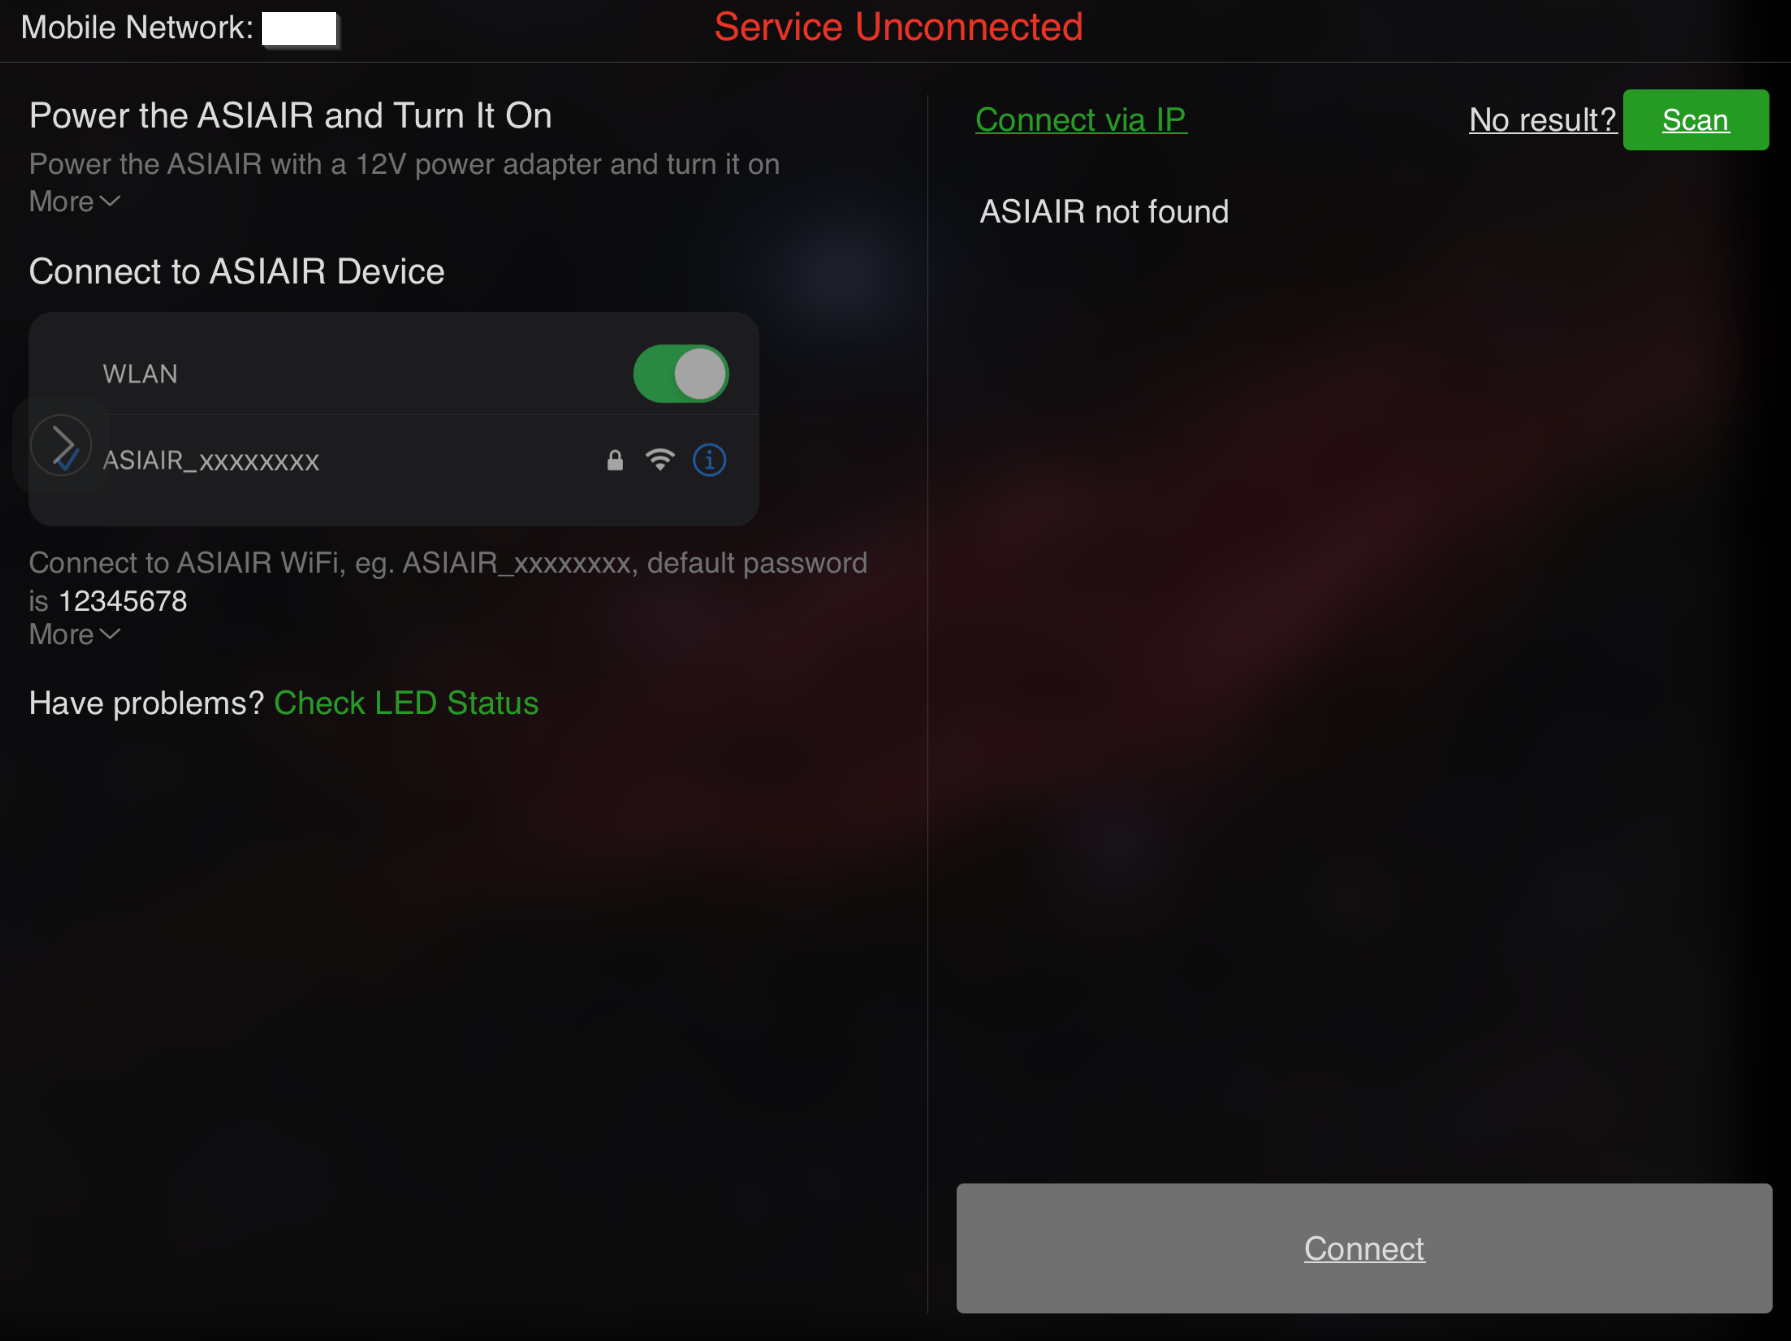
Connection Failed |
If the connection has not yet been established, you will see this: In this case, please check your network settings on your mobile device, and also check if ASIAIR is ready. |
|
|
5.3 |
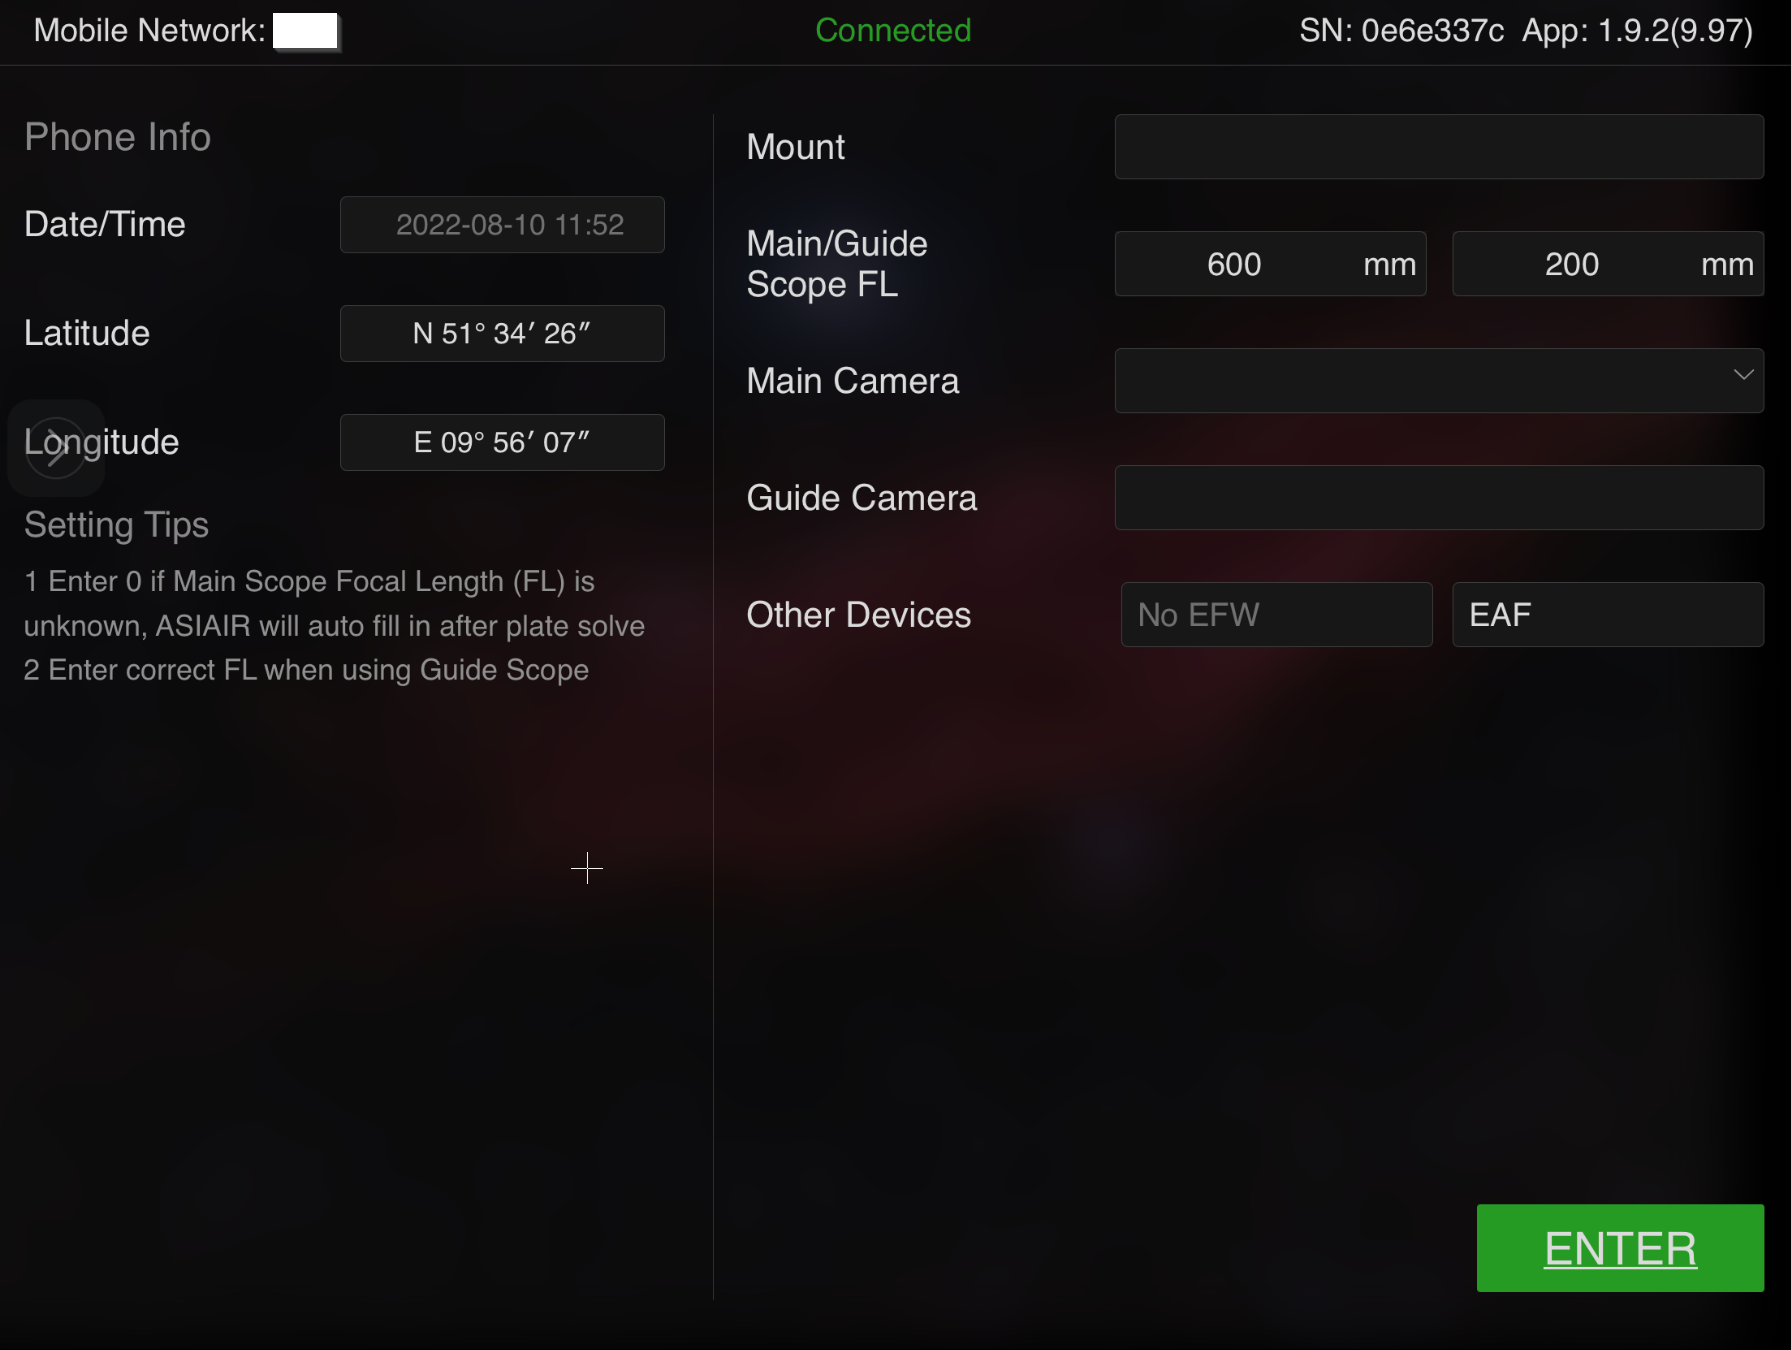
Connection Established |
Once connected you should see this screen |
|
|
6 |
DST and Time setting |
always set DST to NO on your mount |
please refer to the chapter Time and DST settings |
|
7 |
Check the detail settings |
|
please refer to the chapter Setting up the ASIAIR Pro |
|
8 |
Cooling |
Start cooling the main camera to, for example, 0°C if temperatures are above 0°C, and later to -10°C or -20°C to reduce thermal stress. |
In the Main camera section |
|
10 |
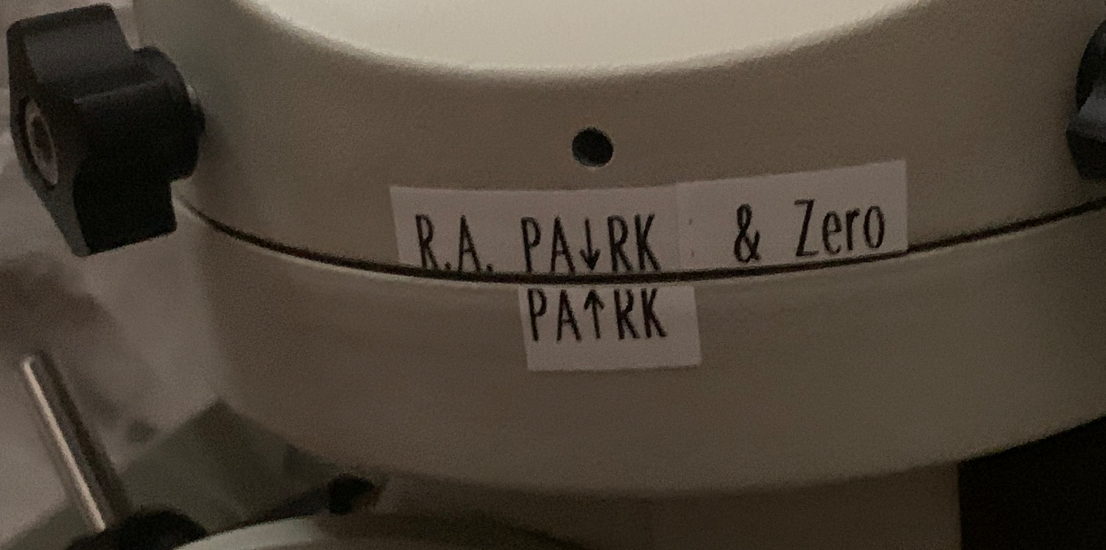
Zero Position Alignment |
Check again that the Telescope is in the Zero Position and then set the Zero Position using the hand control of your mount to make sure the Zero Positions on the ASIAIR and the mount correspond with each other. Check again that the telescope is in the zero position and then adjust the zero position using your mount's hand control to ensure that the zero positions on the ASIAIR and the mount match. |
|
|
11 |
Guide Camera Focusing |
Fastest path: Fine Adjusting the Guide Camera Focus using the ASIAIR Focus Function |
For a good start set:
|
|
12 |
Main Camera Focusing |
Set the focus of the main camera or Auto Focus with ASIAIR PRO and ZWO EAF Fast path (since V1.9):
|
EAF Position Examples by Optical ConfigurationTS600AS294: 20393 TS1624rAS294: 17062 |
|
13 |
Polar Alignment |
With telescope in Zero Position:
|
|
|
14 |
Slew back to Zero-Position |
|
|
|
15 |
Do a 1-star alignment |
Fast Path:
|
Alternate method: use the mount hand controller to do a star alignment. |
|
16 |
Camera Rotation Alignment |
Make sure your camera orientation matches your intended target orientation. This is especially important if you plan to take mosaic images. Verify that the camera orientation is as shown on the right as the Initial Camera Orientation before starting the Camera Orientation Alignment Process. |
|
|
17 |
Re-calibrate Guiding |
|
|
|
18 |
Start Session Setup |
Continue with the next steps like |
|


*) The ASIAIR PRO password cannot be changed with the app, but I found a hack on the Internet that explains how to "personalize" the password on your own ASIAIR PRO
Check out other ASI AIR Pro workflow descriptions:
Created with the Personal Edition of HelpNDoc: Qt Help documentation made easy